Hello Crochet Buddies!!
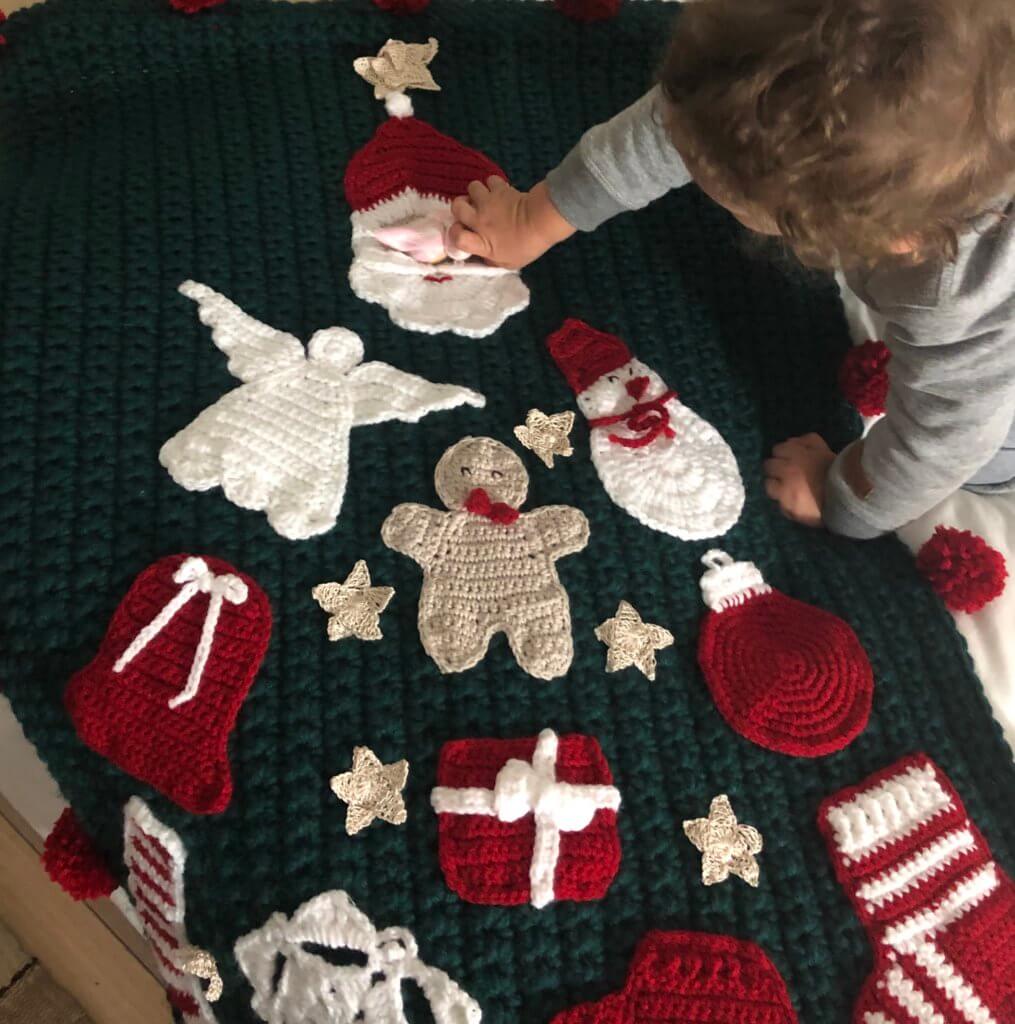
As I was thinking of making a crochet Christmas ornaments roundup to compile some of my favorite ornament patterns. An idea popped to my mind! I though why not make something that compiles all those beautiful ornaments into one thing. So I decided to make this wall hanging and arrange the Ornaments so that they make the shape of a tree. And this was the result. I think some changes to the size and it would make a beautiful blanket too!!
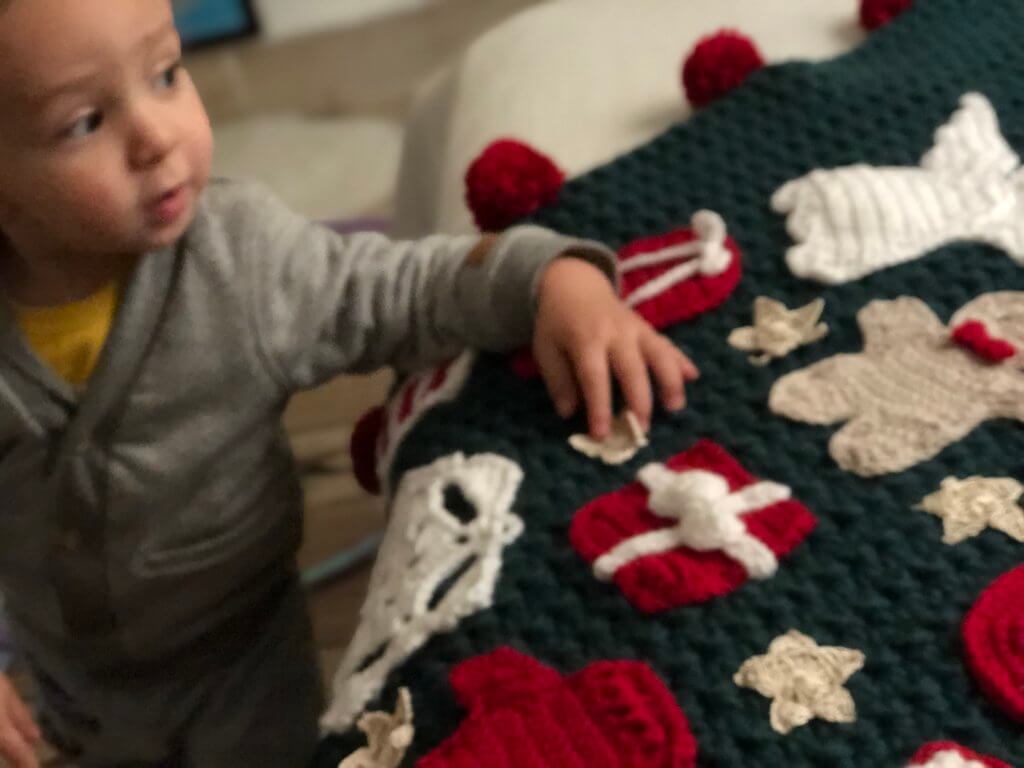
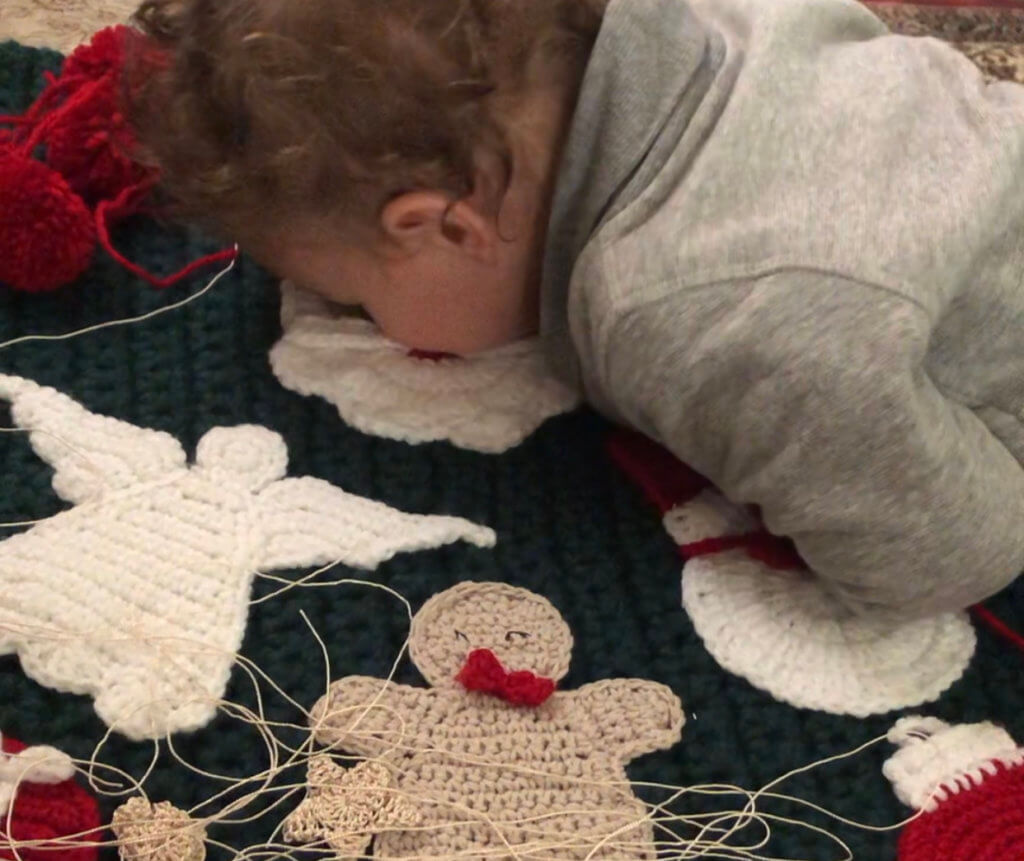
I honestly love how it turned out. And am not the only one who loved it look at the pictures below!! He too loved it. His favorite one was Santa he kept playing with him and kissing him he also Tried to feed him some of his breakfast 😀
Speaking about Christmas! Did you see the Christmas edition of the cozy velvet socks? and the crocheter/maker Christmas gift guide/ wishlist :D?? if you didn’t get a gift for your crochet buddies take a look you may get inspired!!
Pin it for later
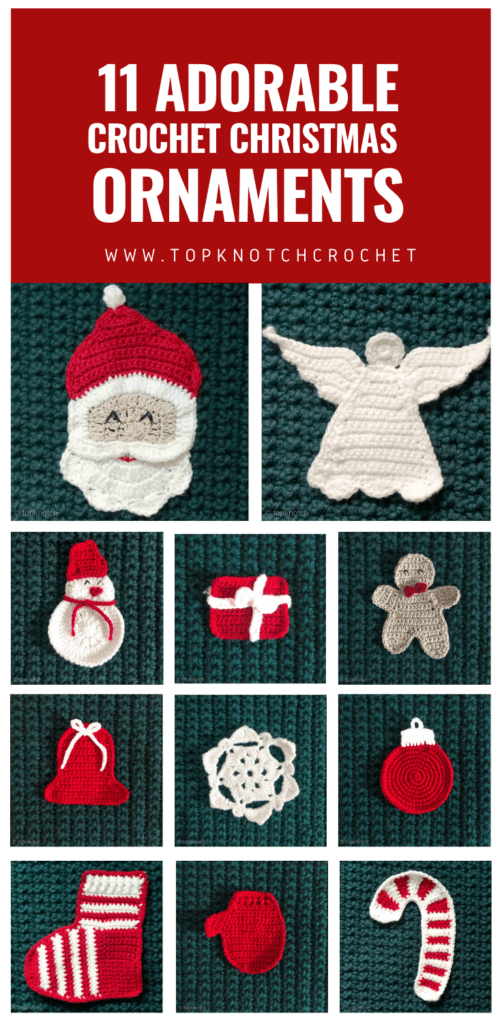
The materials you will need for this project are:
Disclaimer: This blog post may contain affiliate links. I may earn a small commission to fund my coffee drinking habit if you use these links to make a purchase. You will not be charged extra, and you’ll keep me supplied in caffeine. It’s a win for everyone, really.
- For the base/body of the wall hanging. 7 skeins of Alize megafil pine green (code 426) you can also get it here or here. You can also use any super bulky wool acrylic blend yarn of your choice for the base.
- For the ornaments. 2 skeins of Alize burcum red (code 106) , 1 Skein of Alize burcum white( code 55), You can also use any 3 DK & light worsted Acrylic yarn of your choice.
- For the stars. I wanted to make it sparkly so I used silk golden yarn. I couldn’t find links to the exact one I used. however I will put links to a few options that I think would look great too! YarnArt Camellia metallic yarn shinny yarn , DROPS Glitter yarn
- A 3.5 mm for the ornament and a 9 mm hook for the base. Here is a set with one of my favorite hooks sets along with stitch markers and needles
- Sewing needle and matching thread, yarn needle to weave in ends.
Size:
The finished size of the wall hanging is 65 cm wide and 83 cm long
Notes:
- The pattern is written in us terms, However the hook size is in mm
- sc = single crochet
- Watch this tutorial by the amazing sewrella to get straight edges
- The base of the wall hanging is made first then the ornaments is made and sewed or hot glued to the base.
- Most of the ornaments patterns call for making two layers and joining them together. However since I wanted my ornaments to lay flat on the base I made only one layer.
- I made few changes to some of the ornaments since I used different yarn and I wanted them to fit into my wall hanging so under each title you will find the changes I made
- Finally to go to the ornament pattern click on the title.
THE BASE OF THE WALL HANGING
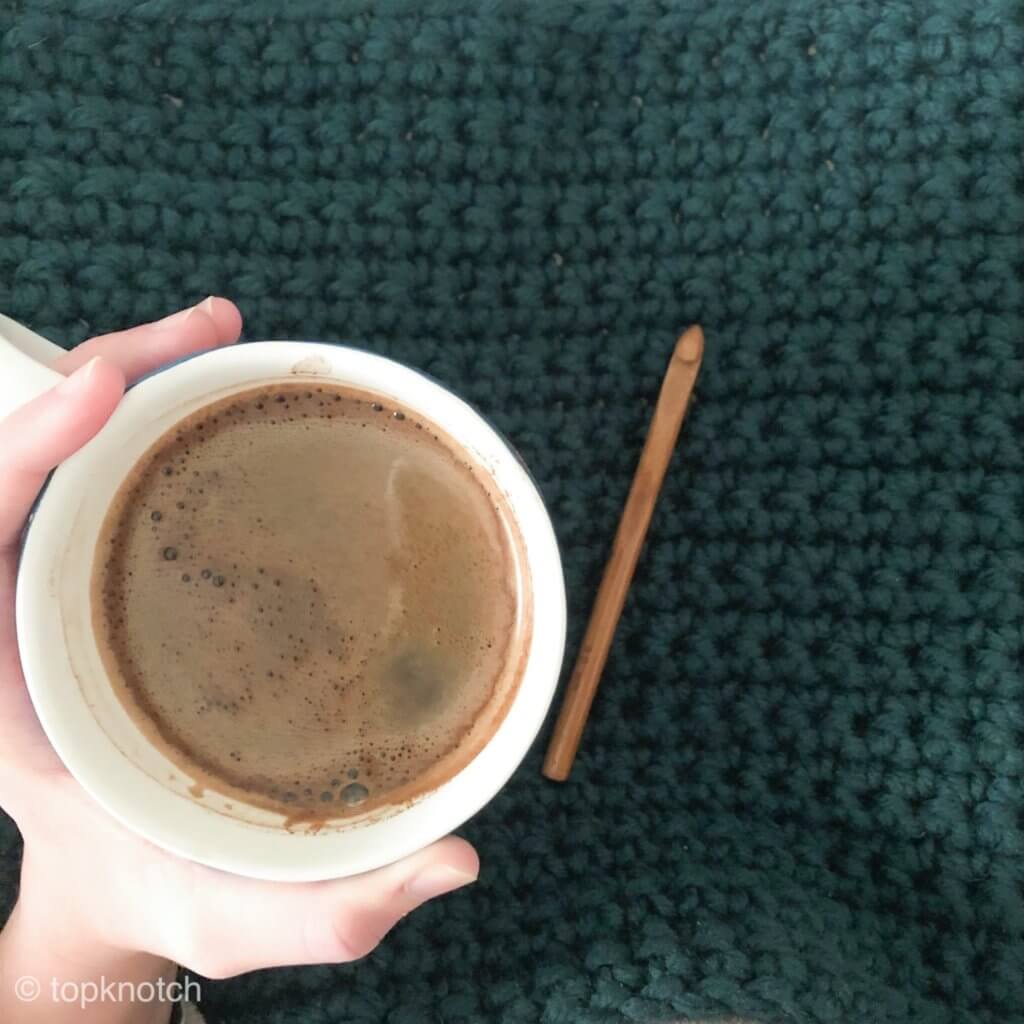
With a 9 mm hook and your super bulky yarn chain 61 and work 52 rows of sc back and forth Or till u get the Width written above. Remember the straight edges tutorial by sewrella.
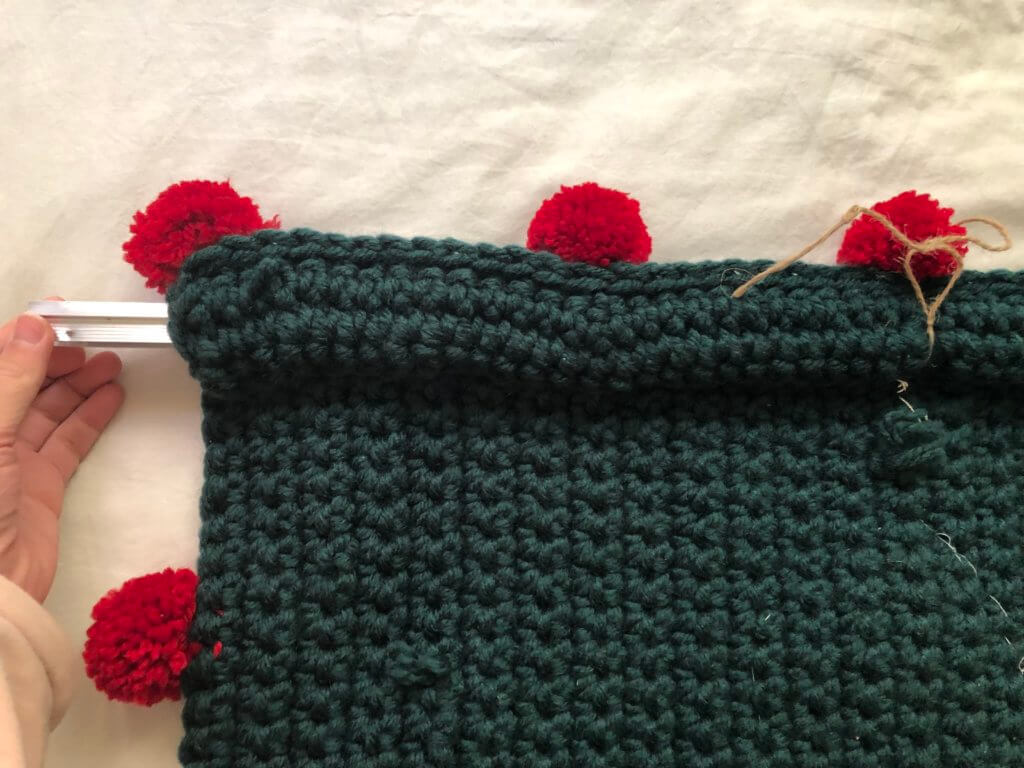
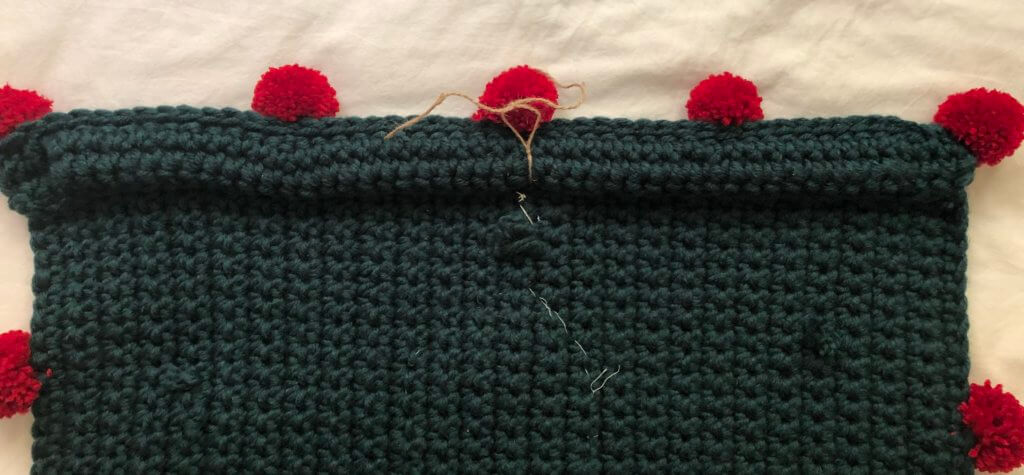
To make a pocket where you can insert your wooden dowel or whatever you are gonna use to hang your wall hanging.
Just chain a 53and work sc in each chain for 4 rounds then with a crochet hook join the top parts of the pocket and the wall hanging together with sc and sew the lower part to the body of the wall hanging with matching thread/yarn.
To hang my wall hanging I used a metal rod and I tied a piece of twine to it at the center.
NOW WE ARE READY TO MAKE THE ORNAMENTS!!
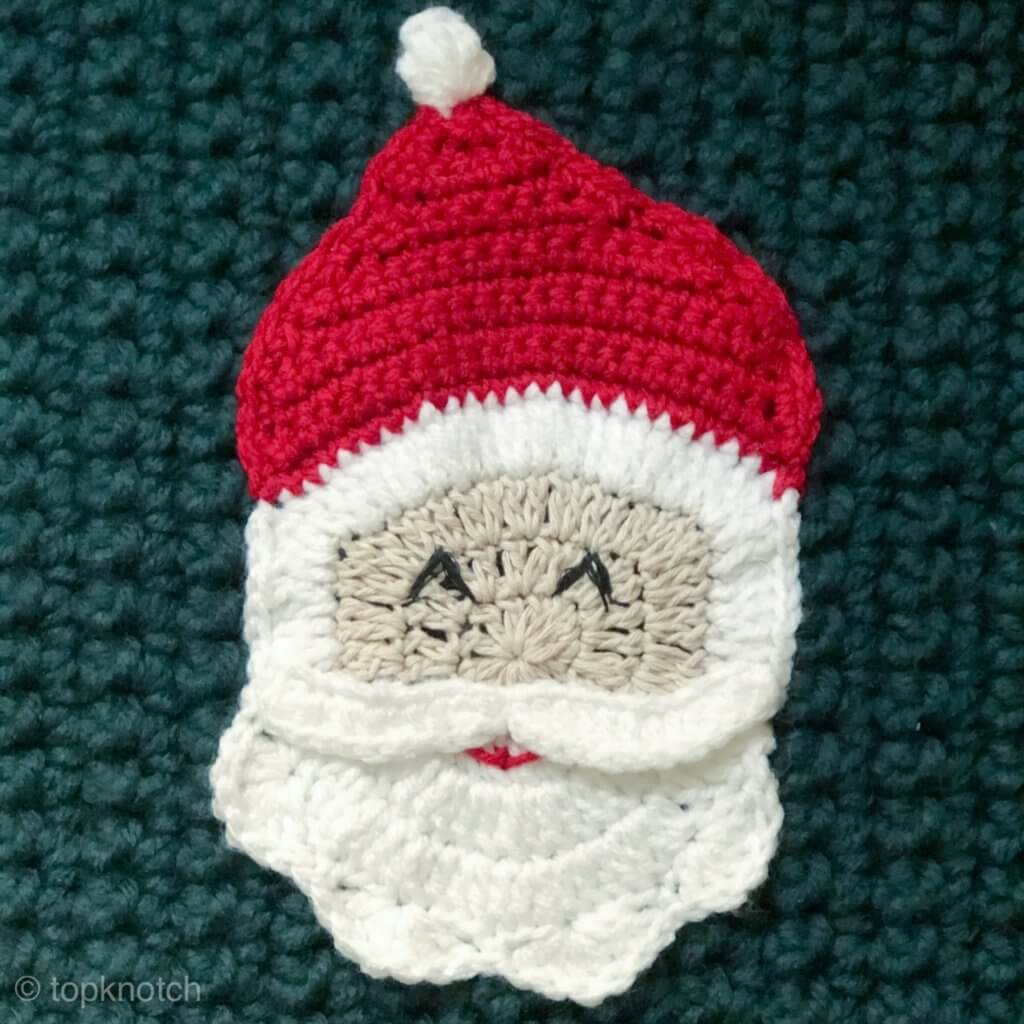
The cute santa’s face pattern is by annaluciadu
This is the only paid pattern in this post. I have made some changes to make the size bigger. so basically I added one row of dc and instead if switching to sc in the white part, I continued with dc. Also instead of the pompom on the top of the hat I made a popcorn stitch. Finally instead of three ruffles in the original design I made four at the beard. Here is a video I found for free with a similar design . Its in Russian but I believe you will get the idea 😀
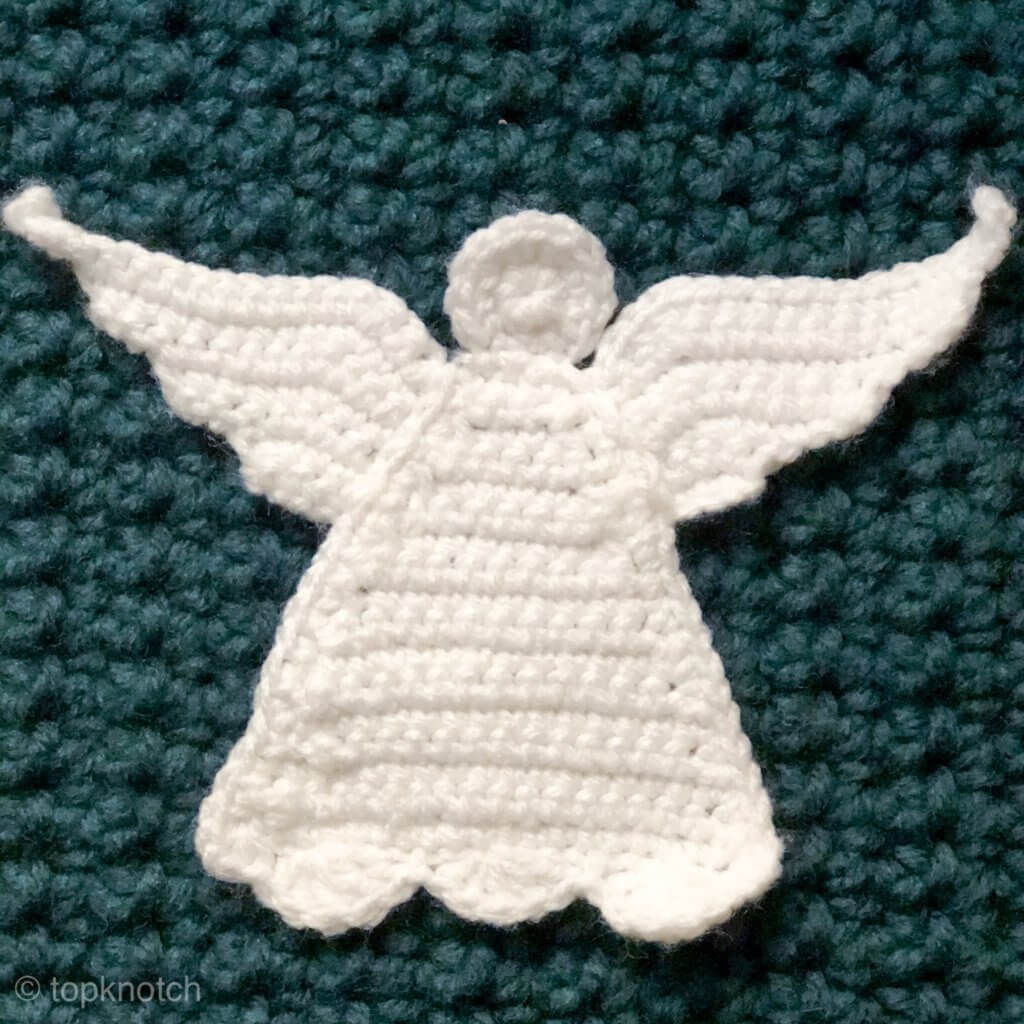
BEAUTIFUL FREE CROCHET ANGEL PATTERN BY CynthiaBanessa.com
The only change I made here was the angel’s head instead of using a large white bead I made a crochet circle.
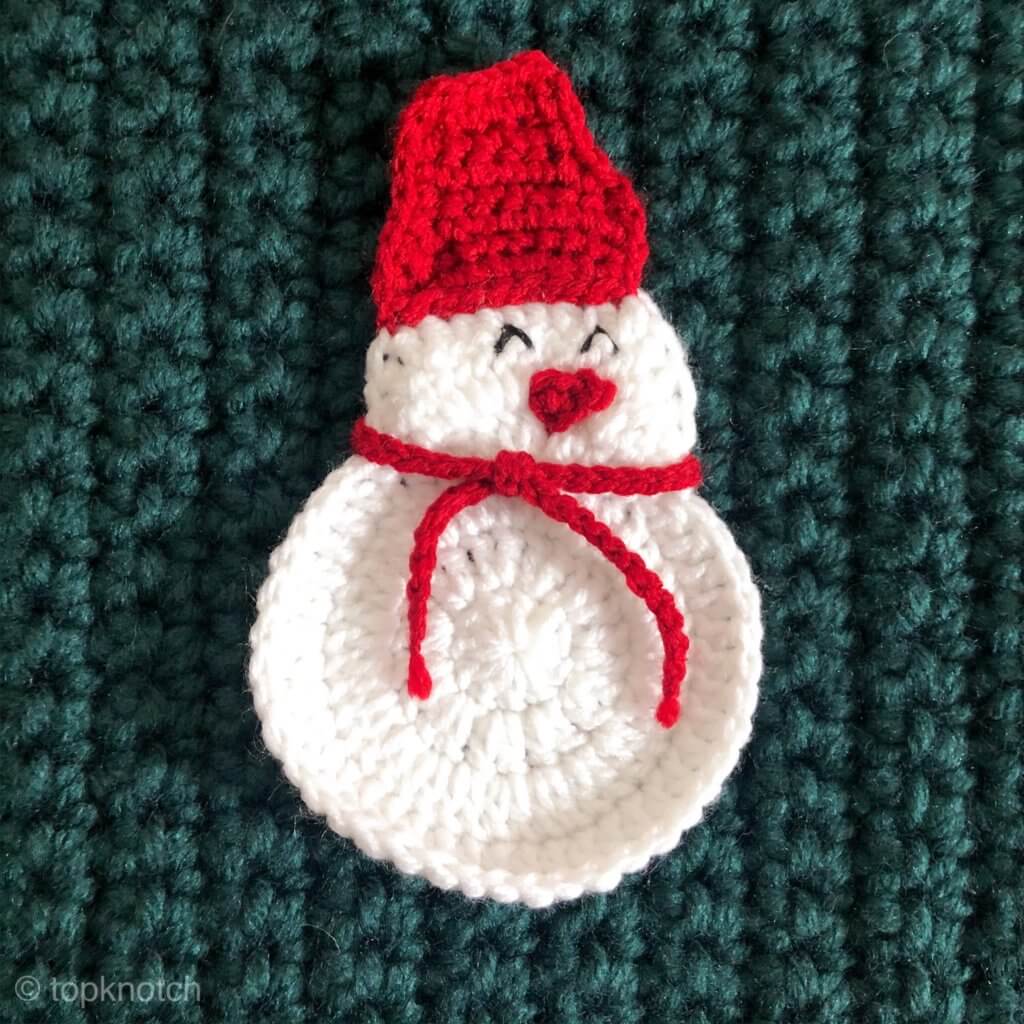
Crochet Snowman by Repeatcrafterme
I only changed the way his eyes look and i didn’t add the 3 beads on his body. I also made his hat and scarf in red. I also made one layers instead of two.
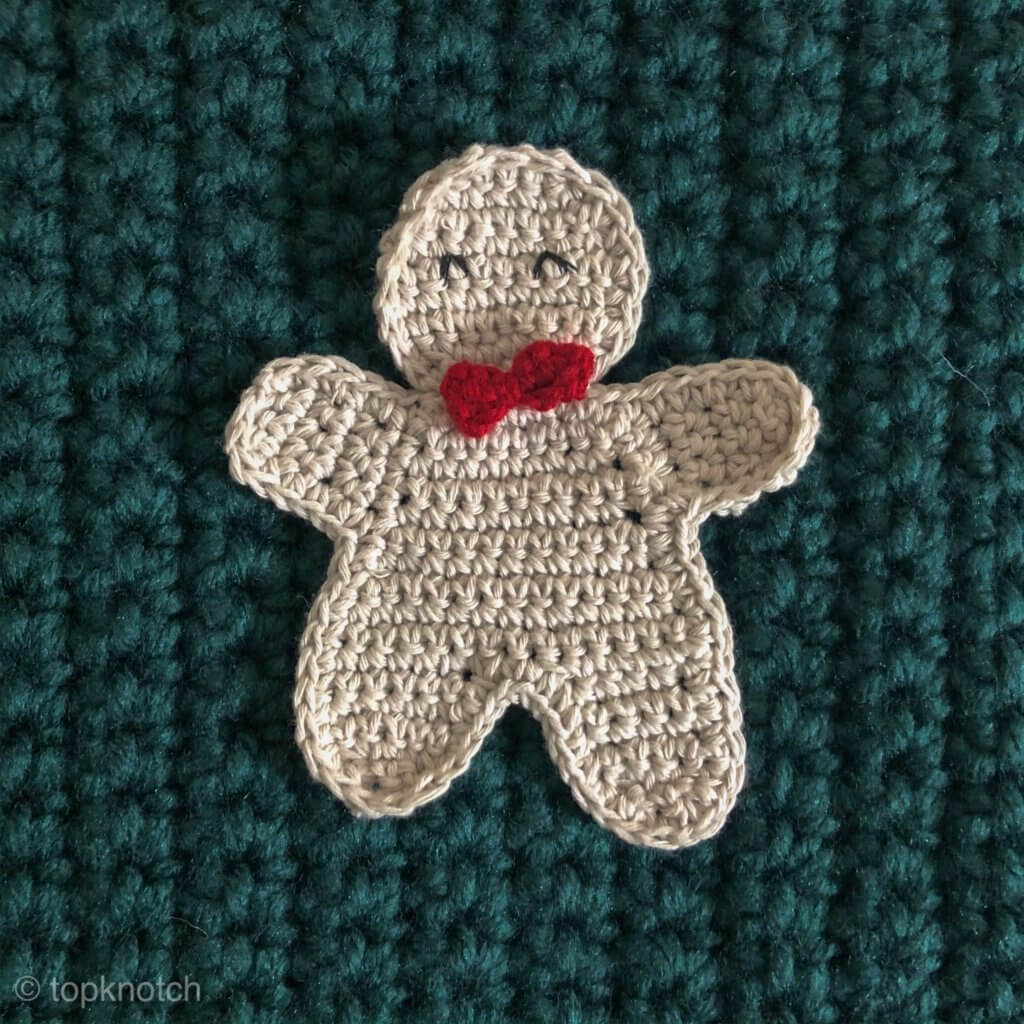
Gingy by DROPS Design
Again I only made one layer instead of two. I Changed the way his eye looks and since am terrible sewer I didn’t do the zigzags at his arms and legs
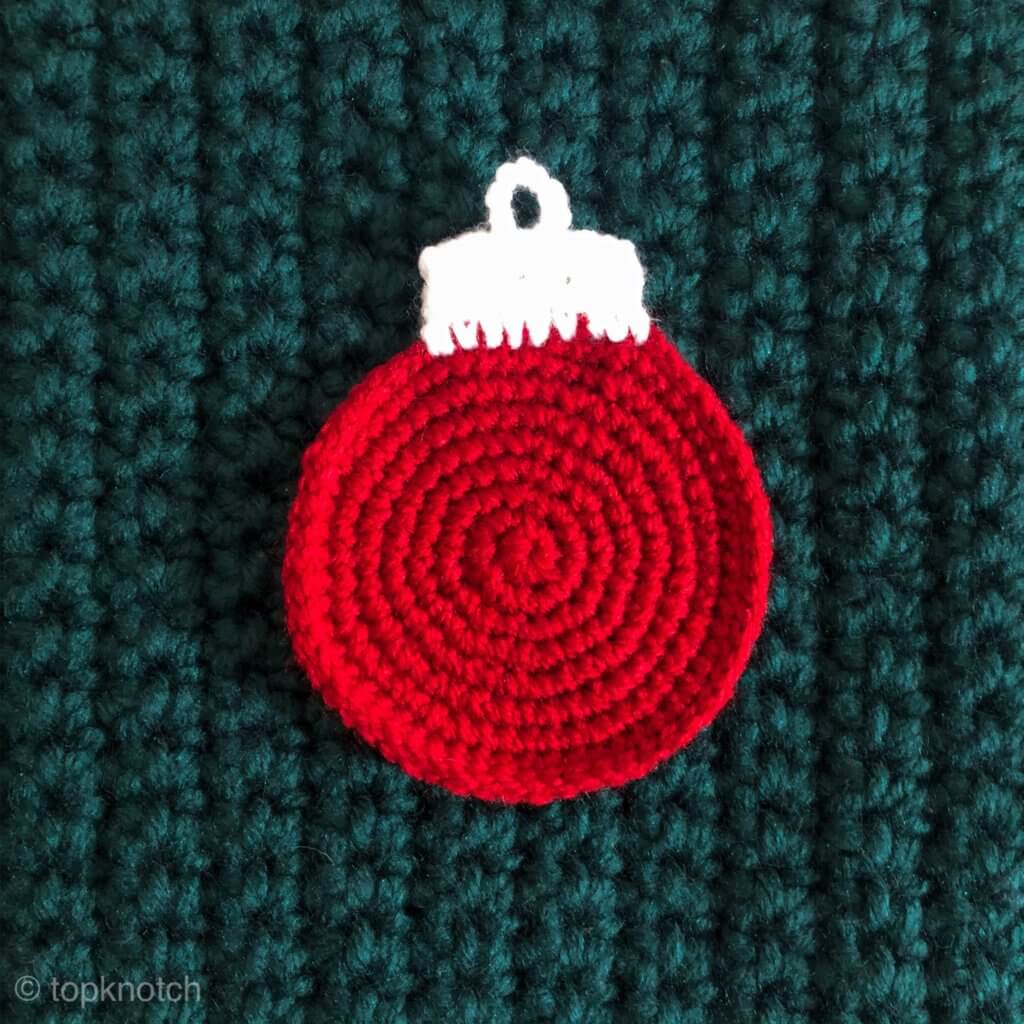
Flatland Christmas Bauble Ornaments Crochet Pattern by Once Upon a Cheerio
Here I Increased a couple of rows than the pattern calls for and I also mad on layer.
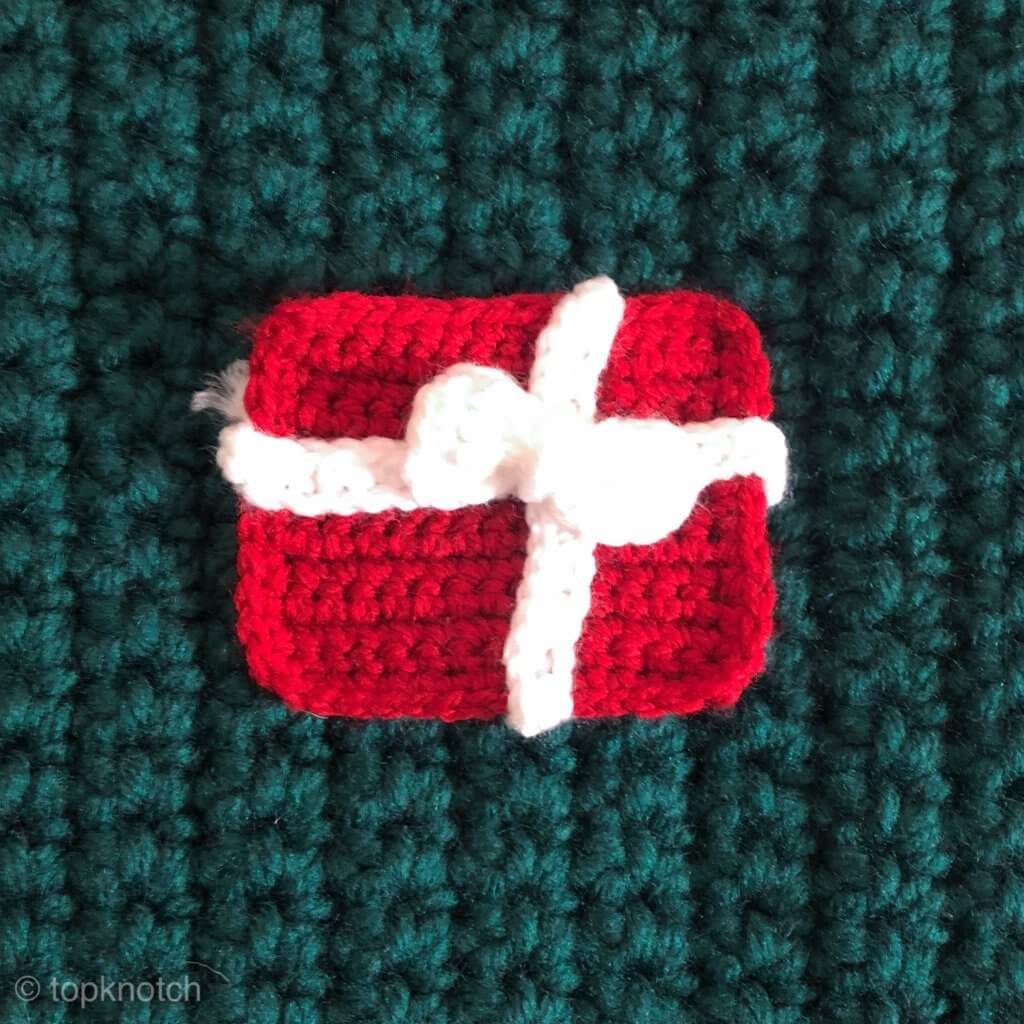
Crochet Present Christmas Ornament By Sewrella
I followed the pattern as it is but i only made one layer instead of two.
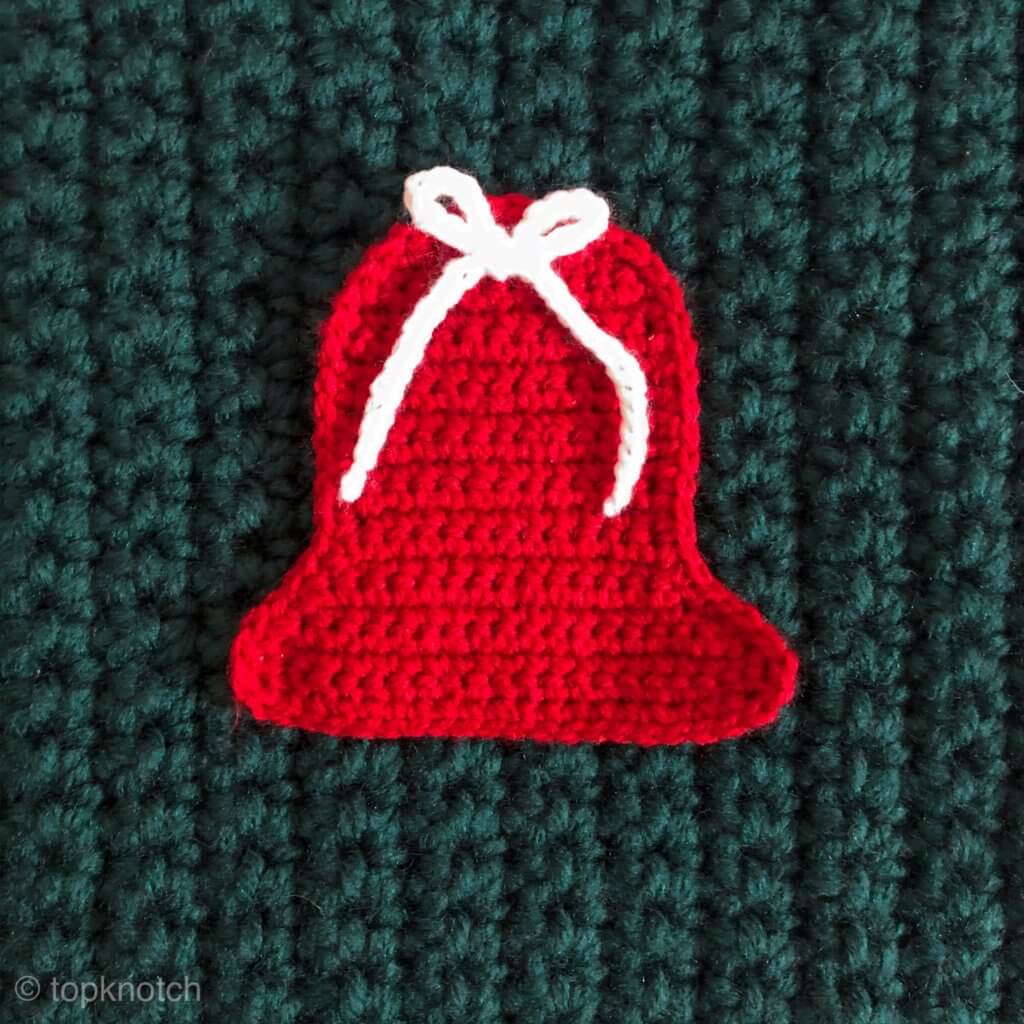
BELL ORNAMENT/GIFT CARD HOLDER BY HIGH AND HICKORY DESIGNS
here since i had a bulkier yarn than what the patterns call for. I Started with a 21 chain instead of 31 and worked for 20 rows instead of 30. i also added the white chain and tied it in a bow. Also I made one layer instead of two.
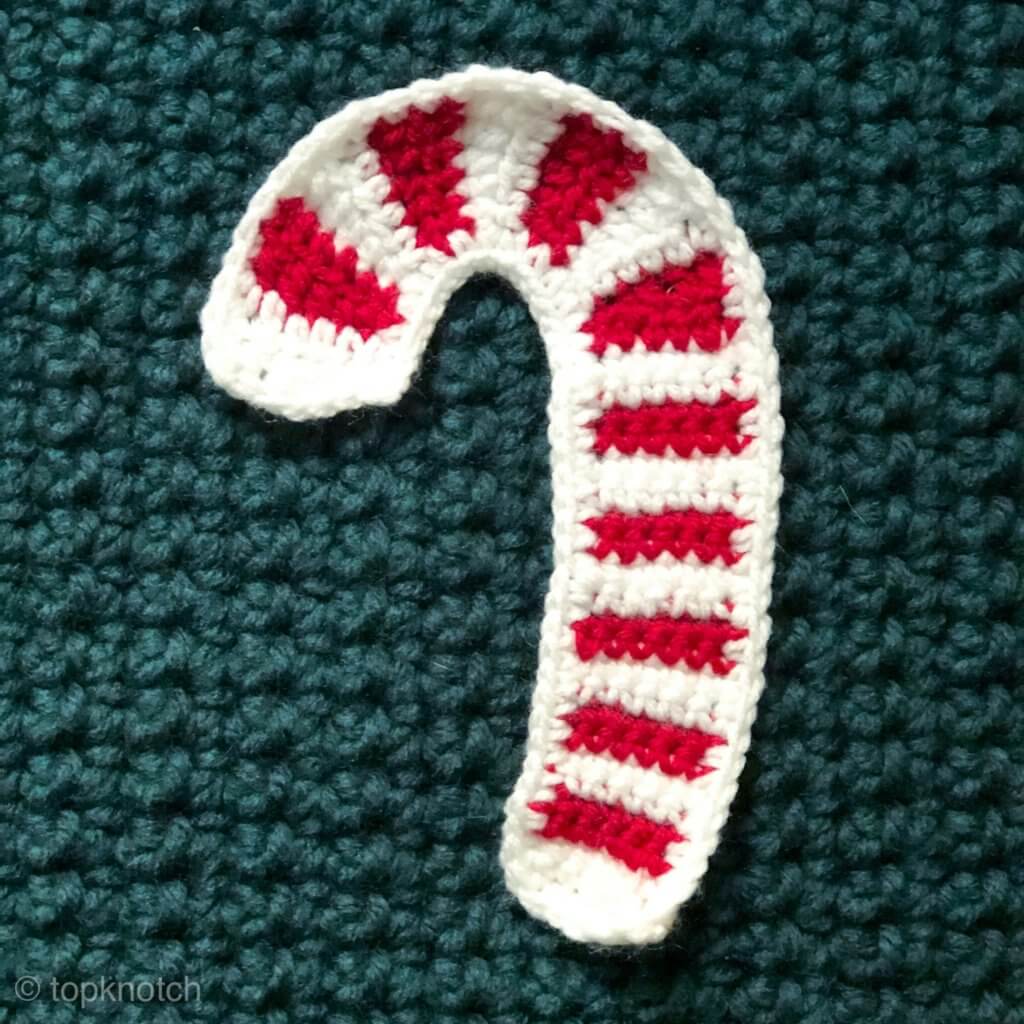
Candy Cane Hot Pad – Free Crochet Pattern By Melodys Makings
I didn’t change anything in this pattern
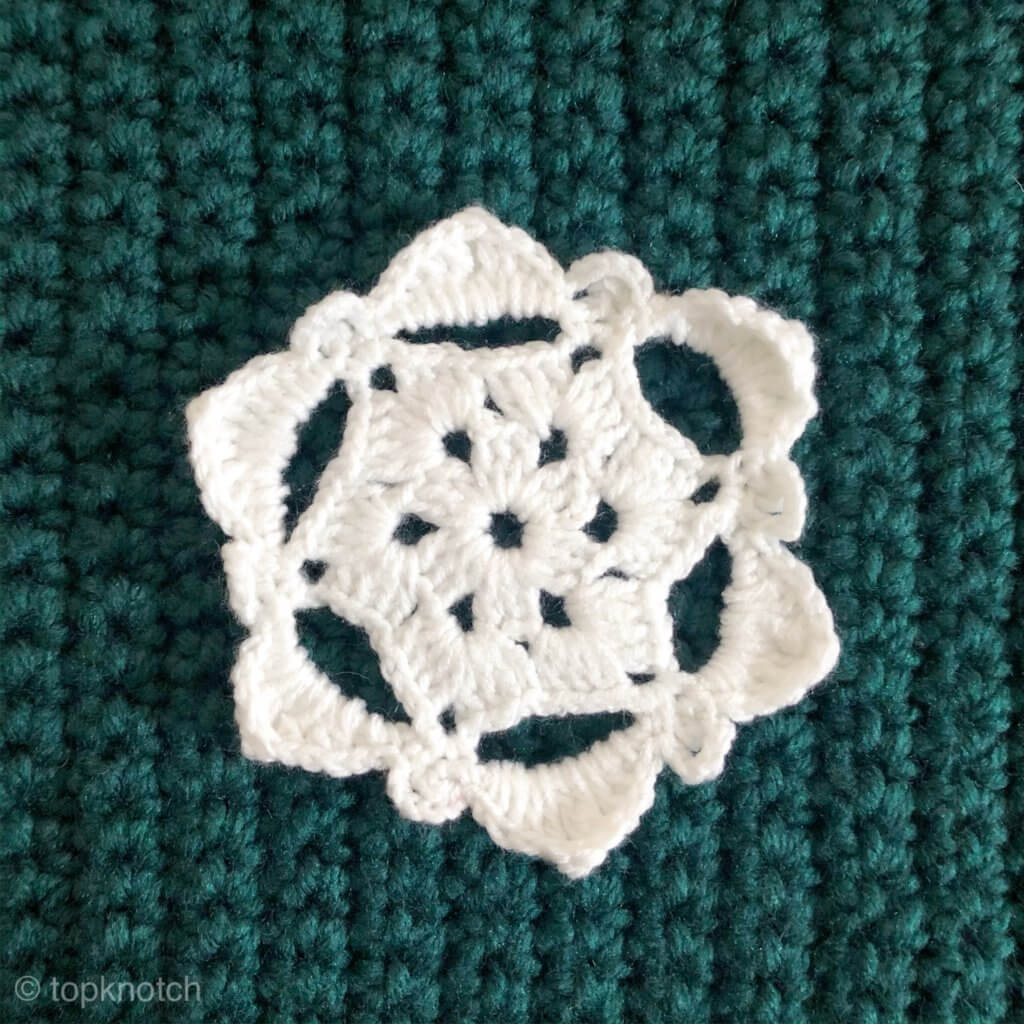
LACE CROCHET SNOWFLAKE CHRISTMAS ORNAMENT PATTERN BY BUSY CREATING MEMORIES
I also followed the exact pattern here.
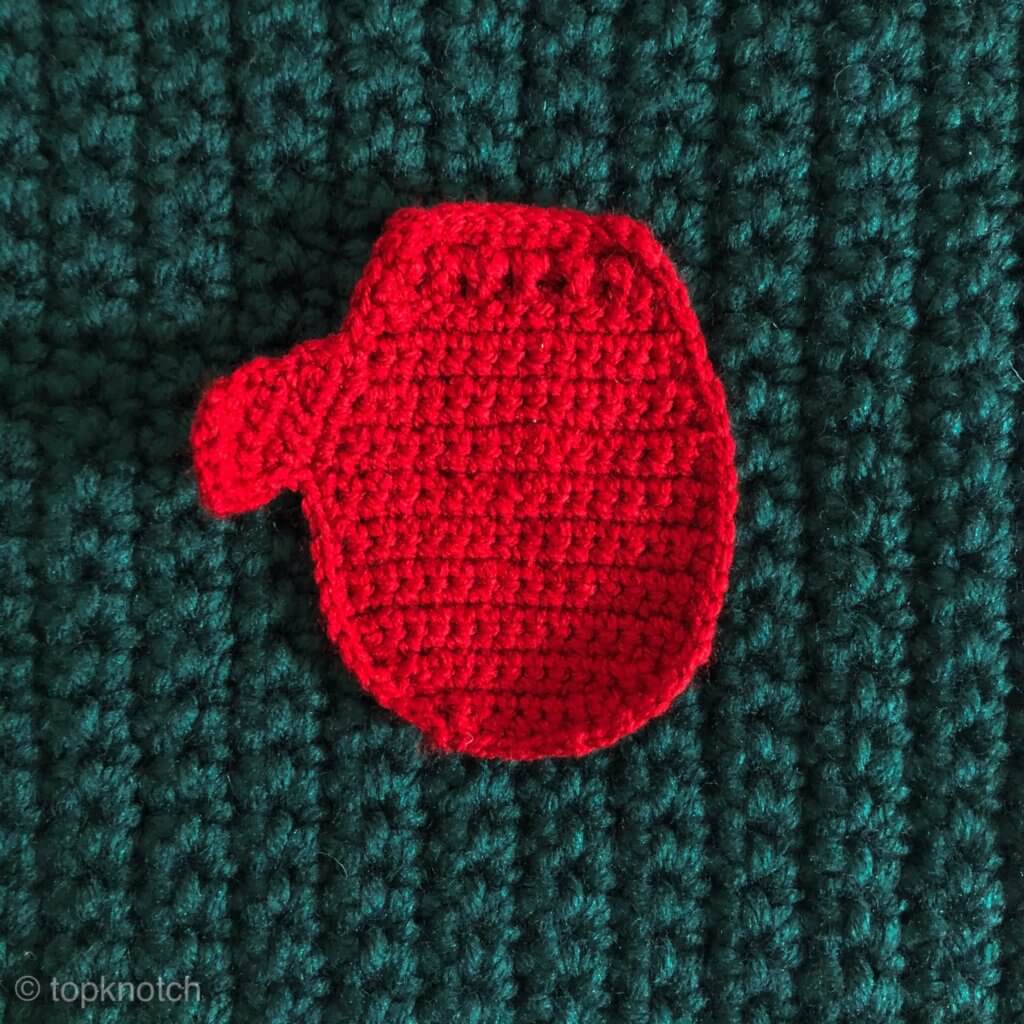
Mittens Ornament Free Crochet Pattern By Spin a Yarn Crochet
Here I followed the solid color pattern. I also made one layer too.
And finally this mini stocking is my own pattern
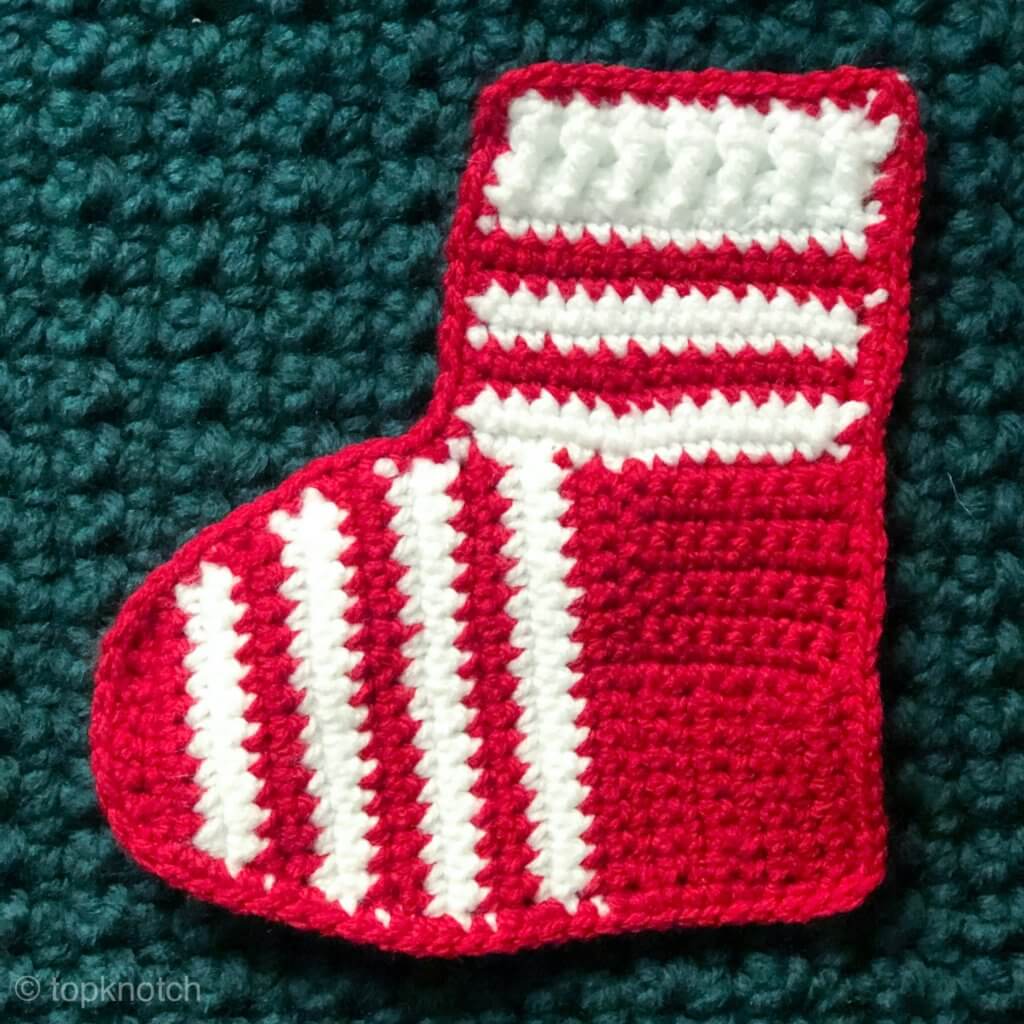
With a 3.5 mm hook and red yarn chain 7
Row 1: sc in each chain.
Row 2: increase at the first and last stitch and work one sc in each other stitch
Row 3: sc in each chain
Row 4: switch to white ,increase at the first and last stitch and work one sc in each other stitch
Row 5. sc in each chain
Row 6. switch to red ,increase at the first and last stitch and work one sc in each other stitch
Row 7. sc in each chain
Row 8: switch to white ,increase at the first and last stitch and work one sc in each other stitch
Row 9. sc in each chain
Row 10. switch to red ,increase at the first and last stitch and work one sc in each other stitch
Row 11. sc in each chain
Row 12-13. Switch to white and sc in each stitch
Row 14-15. Switch to red and sc in each stitch
Row 16-17.switch to white and sc in each stitch.
Row 18-28. Switch to red and sc in each stitch.
Row 29. Now to work the horizontal stripes. switch to white and continue to work horizontally working on sc in each row till you reach row 13 chain one and turn your work.
Row 30. sc in each stitch from the previous round.
Row 31-32. Switch to red and sc in each stitch
Row 33-34.switch to white and sc in each stitch.
Row 35-36. Switch to red and sc in each stitch.
switch to white and work two more rows of alternating between front post hdc and back post hdc.
To finish with red yarn work one last finishing row of sc around the whole stocking.
SHINY STARS
Small ones (make 8 )
Make a magic circle chain 3 and make 14 dc in the magic ring
Chain 6 sc in the second chain from the hook, hdc in the next chain, dc in the next chain, treble crochet in the next chain skip two dc and slip stitch in the next dc. repeat 4 more times
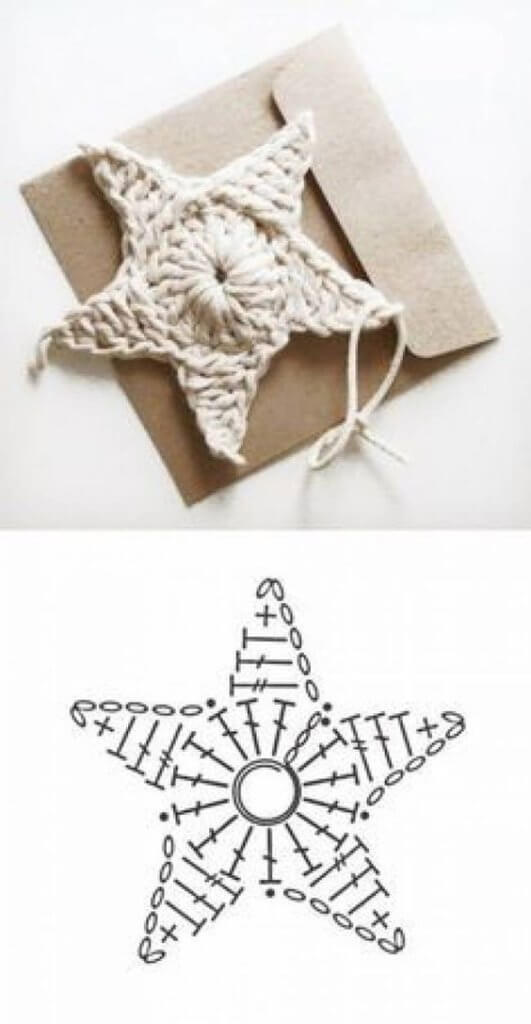
large one (make one)
Make a magic circle chain 3 and make 10 dc in the magic ring
Round 2. 2 sc in each dc from the previous round.
Chain 8 sc in the second chain from the hook, hdc in the next chain, dc in the next chain, treble crochet in the next chain, double treble in the next chain, lastly triple treble in the last chain, skip three dc and slip stitch in the next dc. Repeat 4 more times.
Check this source to make double treble and triple treble
ASSEMBLY AND FINISHING INSTRUCTIONS.
- If you u didn’t do the pocket to hang your wall hanging you should do it now
- Lay down your ornaments to form the shape of a tree and you can sew it or hot glue it to the base. I tried both ways and they both works fine.
- Now sprinkle your stars to fill in the gaps between your ornaments
- And finally you are going to make 18 pompoms!! and attach them to the 4 edges of the wall hanging as you see in the pictures. here is the way I used to create the pompoms
AND YAYY YOU FINALLY FINISHED AN ADORABLE PEICE OF CHRISTMAS DECORATION!! YOU SHOULD BE PROUD OF YOUR SELF!!
I hope you liked this pattern. If you made one, share it with me on Instagram. I would love to see how you adapted it and what variations you made 🙂
Take care and happy crocheting.


