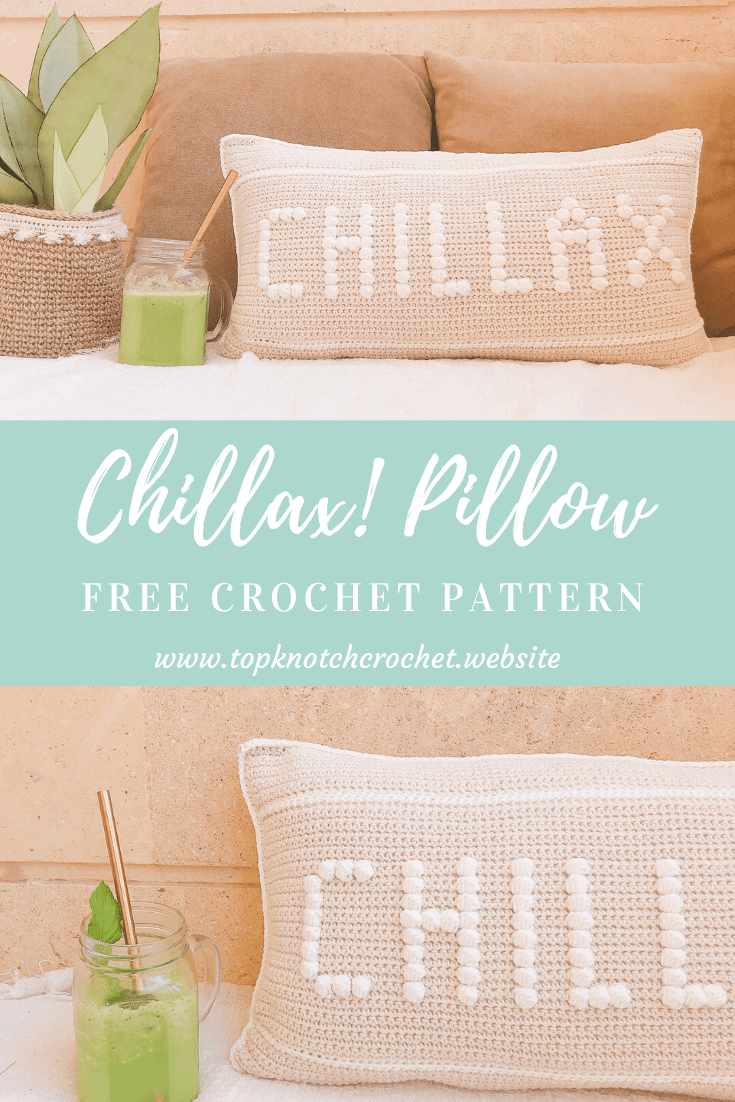
Hello crochet buddies! Today I have another crochet pillow pattern for you!
But before we move to the pattern let me tell you more about the inspiration and purpose of this pattern!
We are all stressed and anxious due to the crazy things that is currently happening in the world. Each and everyone have a loved one or something to worry about. Above all of this, some of of us are Feeling guilty for not being “productive enough”or for not “Achieving enough.” We compare ourselves to others or even to our own selves before a pandemic hits the world! We measure our worth with how much we achieve!
And to be honest with you I struggle with this big time! With this guilt of not having energy to be productive, to study, to workout or to do whatever I have on my to do list! I sometimes also struggle to give myself permission to just sit, chill, enjoy, and be happy while I know that many people are suffering.
But what we should know is!
1) That guilt and a negative mindset won’t do any favor to anyone!
2) That your worth is not measured by how much you achieve or how many tasks you do on a daily basis!
3) That it’s okay, actually it’s a must! To do any kind of self care on a daily basis! to help you survive!
4) It’s okay to do nothing! It’s okay to CHILLAX!!! but you should do it right! I mean without worrying about the future and definitely without feeling guilty!
For me my way to CHILLAX nowadays is to sit in my crochet corner or my balcony, listen to music through my headphones, while crocheting and drinking coffee, or a smoothie. And actively pushing away any negative thought that crosses my mind (coz it will inevitably happen) with a positive one! for example something I’m grateful for! AND I INVITE YOU TO DO SO TOO!
Now let’s take you directly to this crochet pillow pattern
The materials you will need for this Crochet Pillow Pattern are:
Disclaimer: This blog post may contain affiliate links. I may earn a small commission to fund my coffee drinking habit. If you use these links to make a purchase. You will not be charged extra, and you’ll keep me supplied in caffeine. It’s a win for everyone, really.
- Two skeins of Alize cotton gold (Code 67) candle light
- One skeins of Alize cotton gold (Code 1) cream
- 3.5 mm, 4 mm hook, Stitch markers, Scissors, Measuring tape. Here is a set with one of my favorite hooks sets along with stitch markers and needles
- A 10 x 20 Pillow Insert Or Follow this tutorial and make it yourself!!
Measurements:
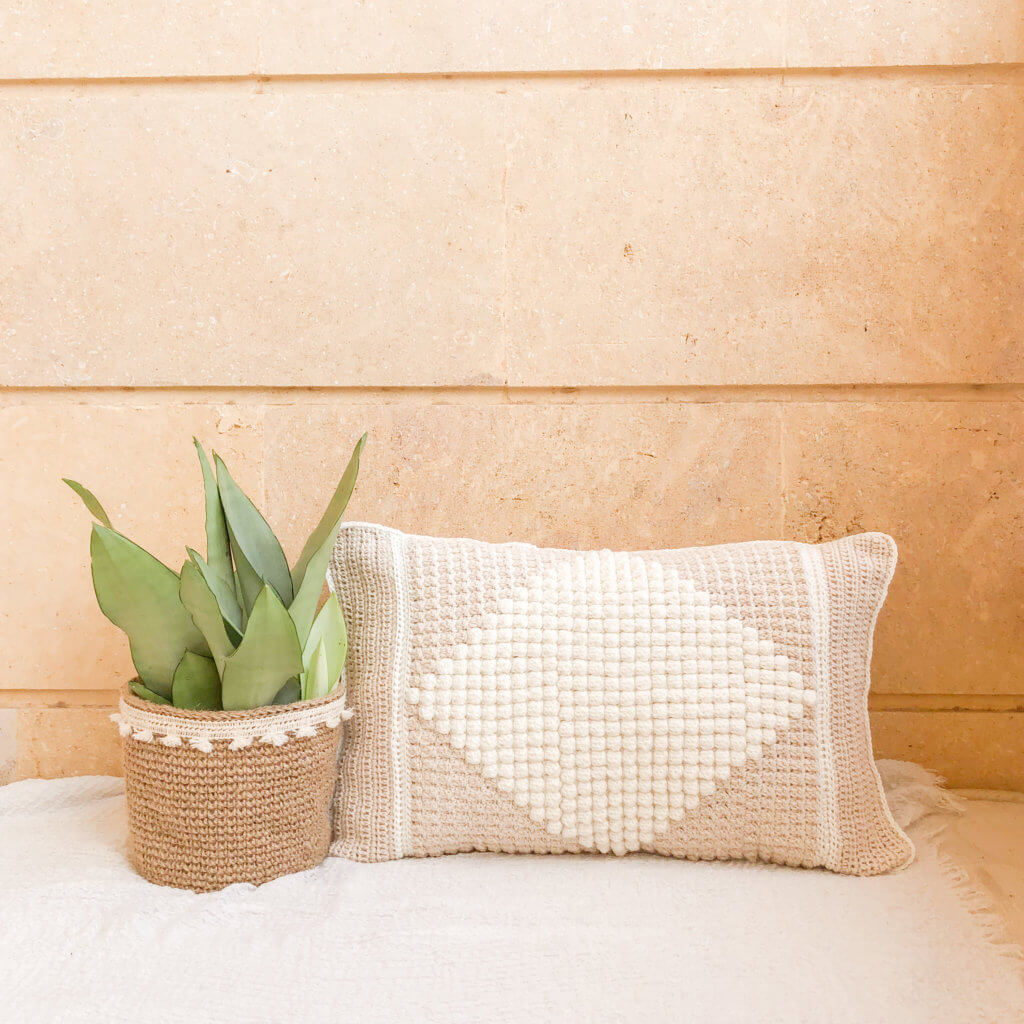
- Approx 10″ x 20″ [25.5 cm x 51cm]
GAUGE:
Front : 19 sc and 20 rows = 4″ [10 cm].
Back : 15 sc and 16 rows = 4″ [10 cm].
Skill level: Beginner
Abbreviations and Glossary (US Terms):
- ch – chain
- sc – single crochet
- HDC-SLST-BLO (half double crochet slip stitch back loop only)
- bo- Bobble stitch: Yarn over, insert hook into the next stitch and pull up a loop. Yarn over, pull through two loops. as if you are doing the first part of a double crochet (DC) (2 loops on the hook); Repeat it until you have 5 HDC on your hook and 1 initial loop (total 6 loops on the hook). Yarn over and pull through all 6 loops. (1 loop on the hook – pull pretty tight, so your bobble really pops up). And sc in the next stitch.
Notes:
- The pattern is written in US terms.
- The pattern starts from the bottom and ends at the top
- You will work all stitches in beige except the bobble stitches. and the two HDC-SLST-BLO rows
- You can adjust the dimensions of the pillow by adding or subtracting rows up and down.
- Watch this tutorial for the method I used to change colors with the bobble stitches
- (You may watch this tutorial and apply it throughout the pattern to help you achieve straight edges
- For the rows that do not have bobbles you can either work the entire row over your accent color (CREAM in my case) yarn so that you can pick it up the next row. or you can cut the yarn by the end of each bobble row and reattach it at the start of the next bobble row.
- I will be referring to the beige color with color a & to the cream with color b
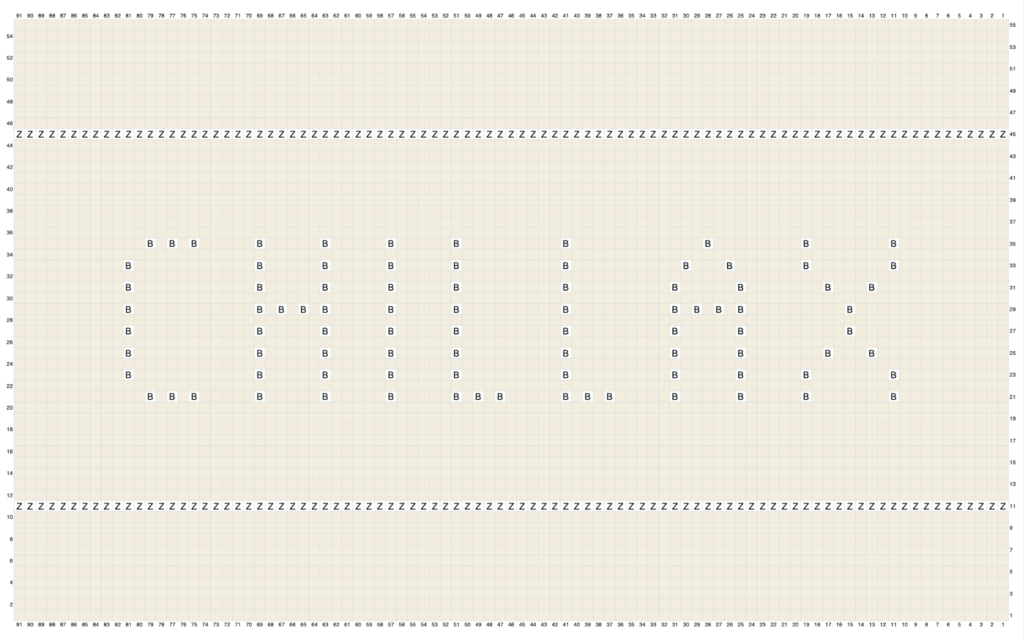
Chart (Click to open a larger image)

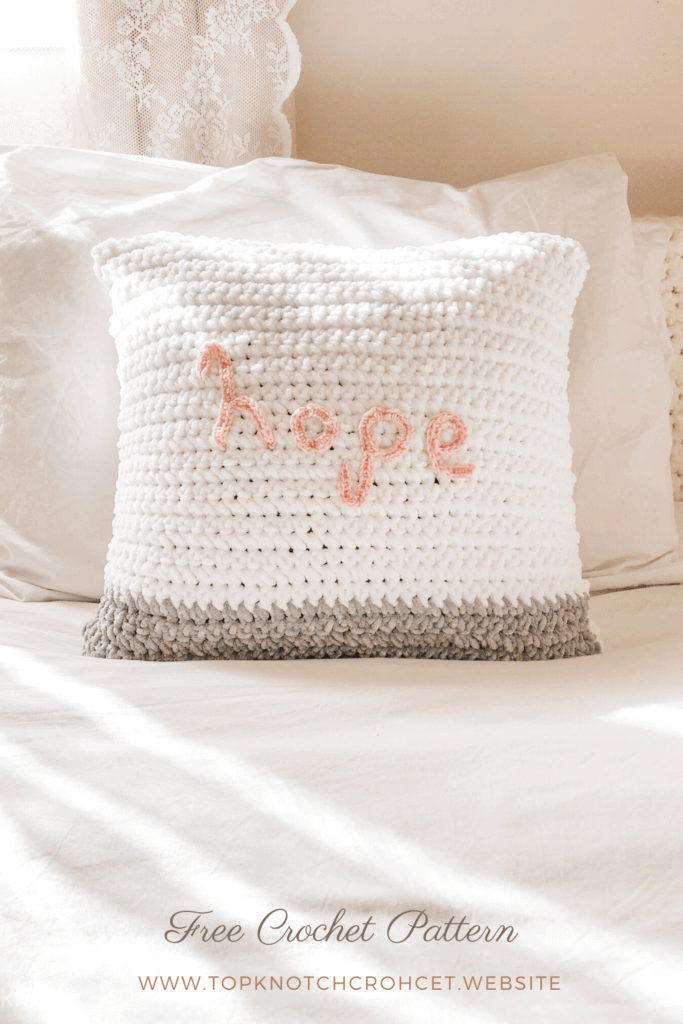
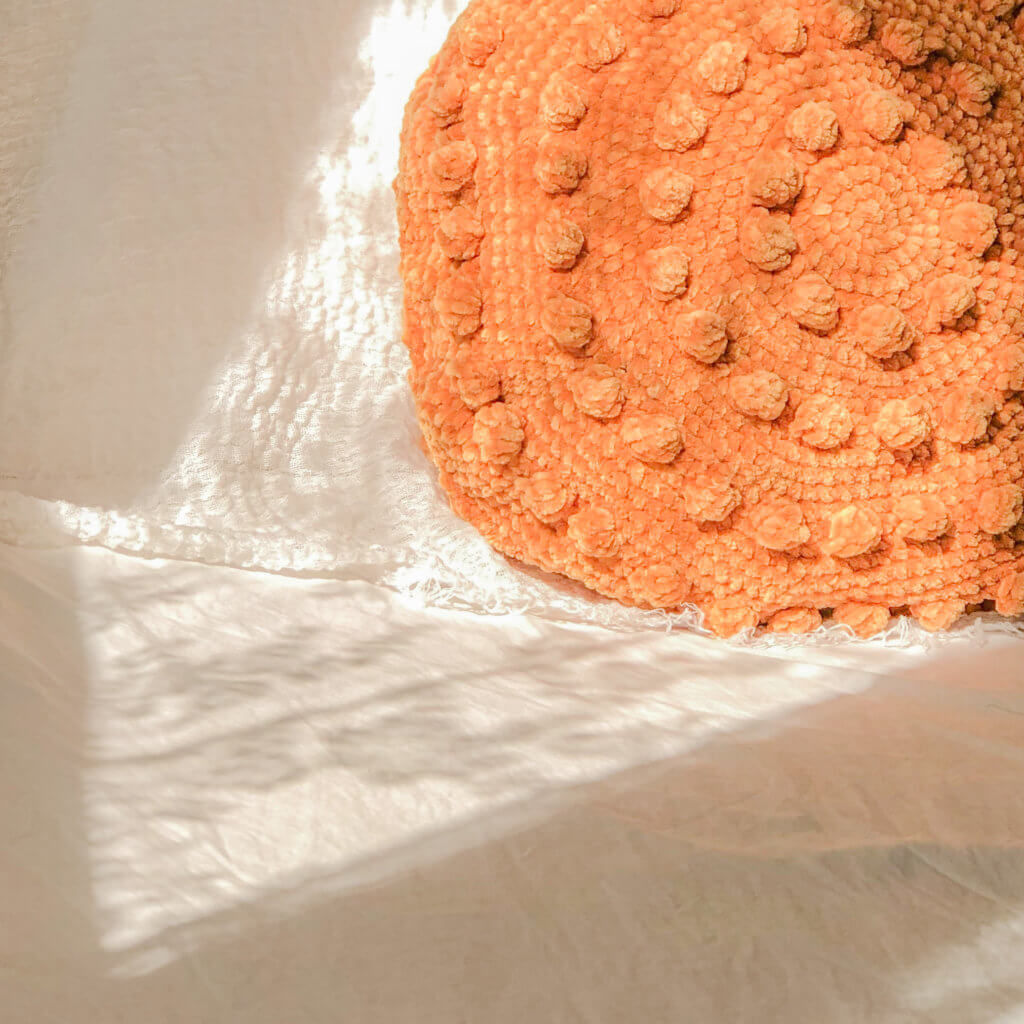
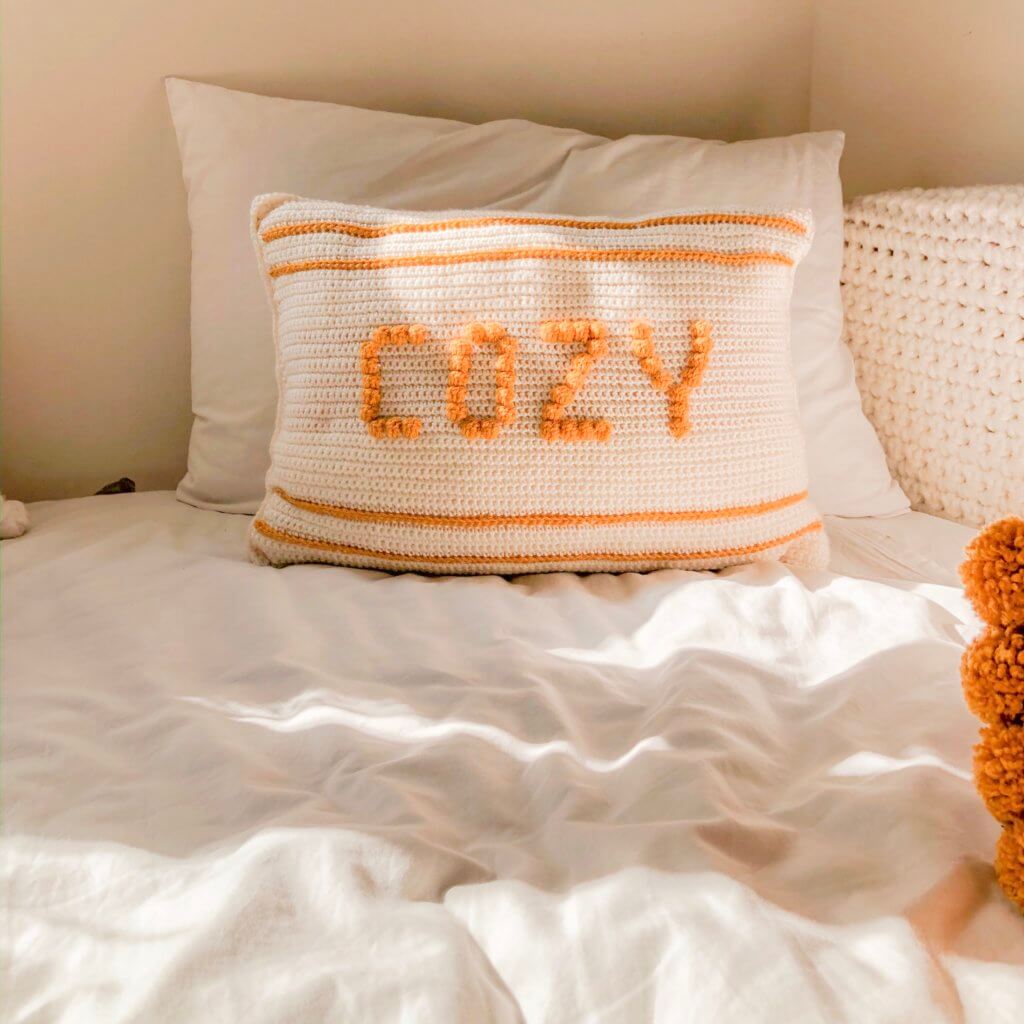
If you’re crazy about crochet cushions, you might enjoy hooking up one of these:
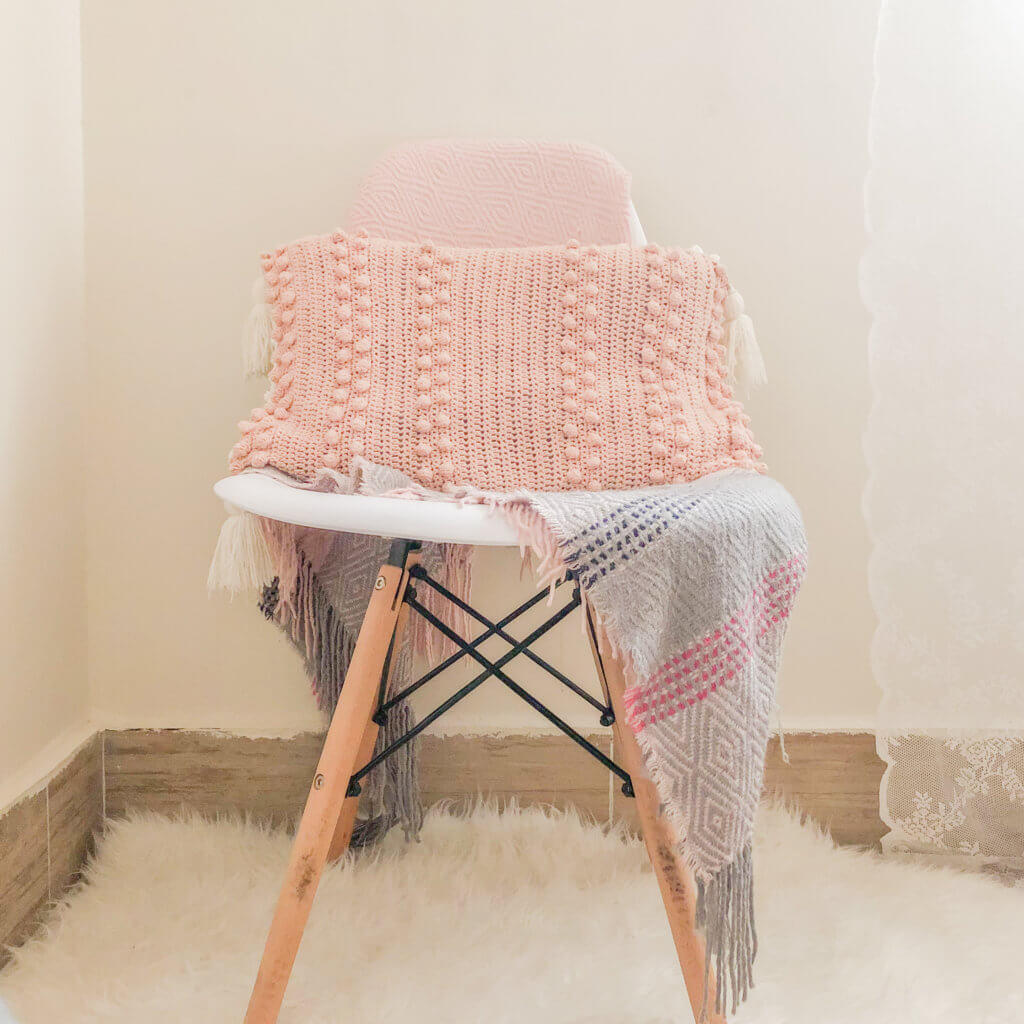
- Crochet Pillow Case Pattern with Fluffy Velvet Yarn
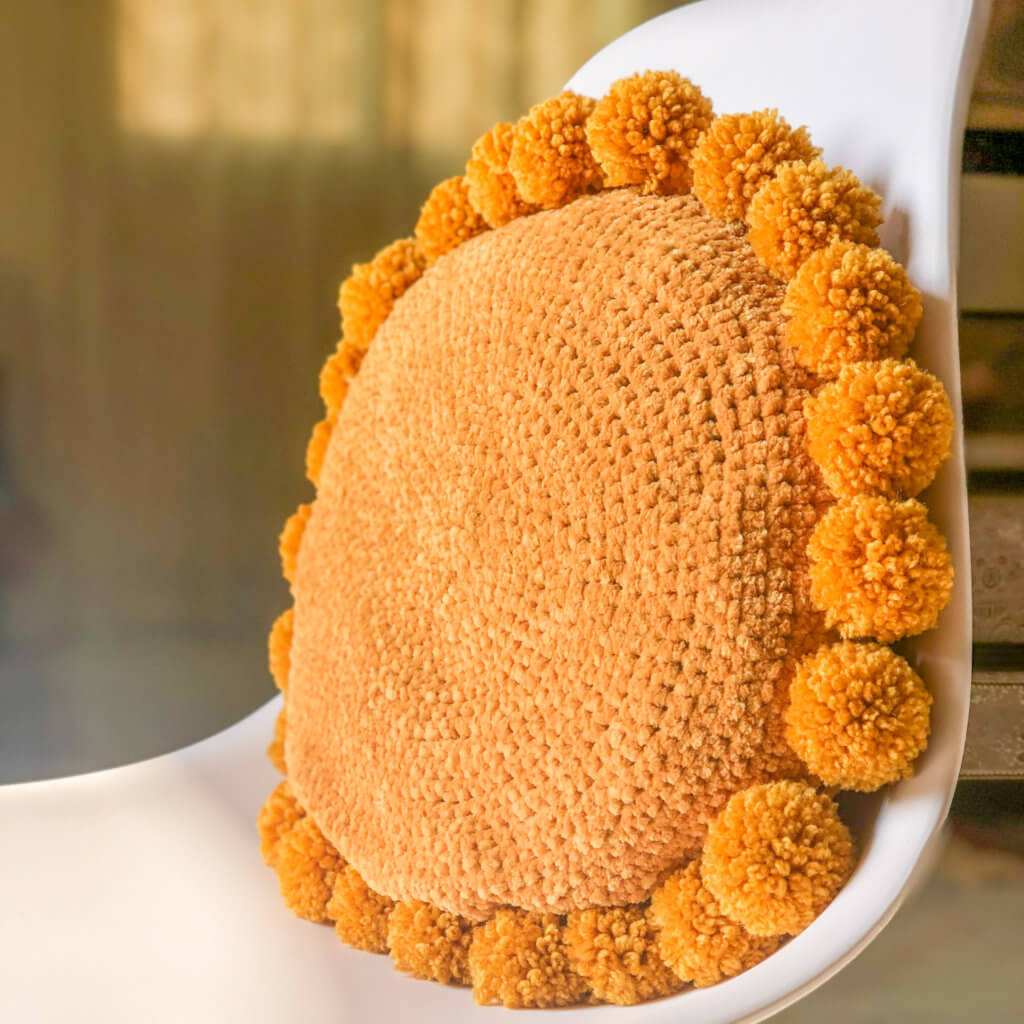
- Round Velvet Crochet Pillow Case
- Cozy crochet cushion
- Bobble-licious Crochet Pillow Case Free Pattern
- Sunshine Crochet Pillow Case – Free Pattern.
- Textured Crochet Pillow – Diamond Bobble Pillow Free Pattern
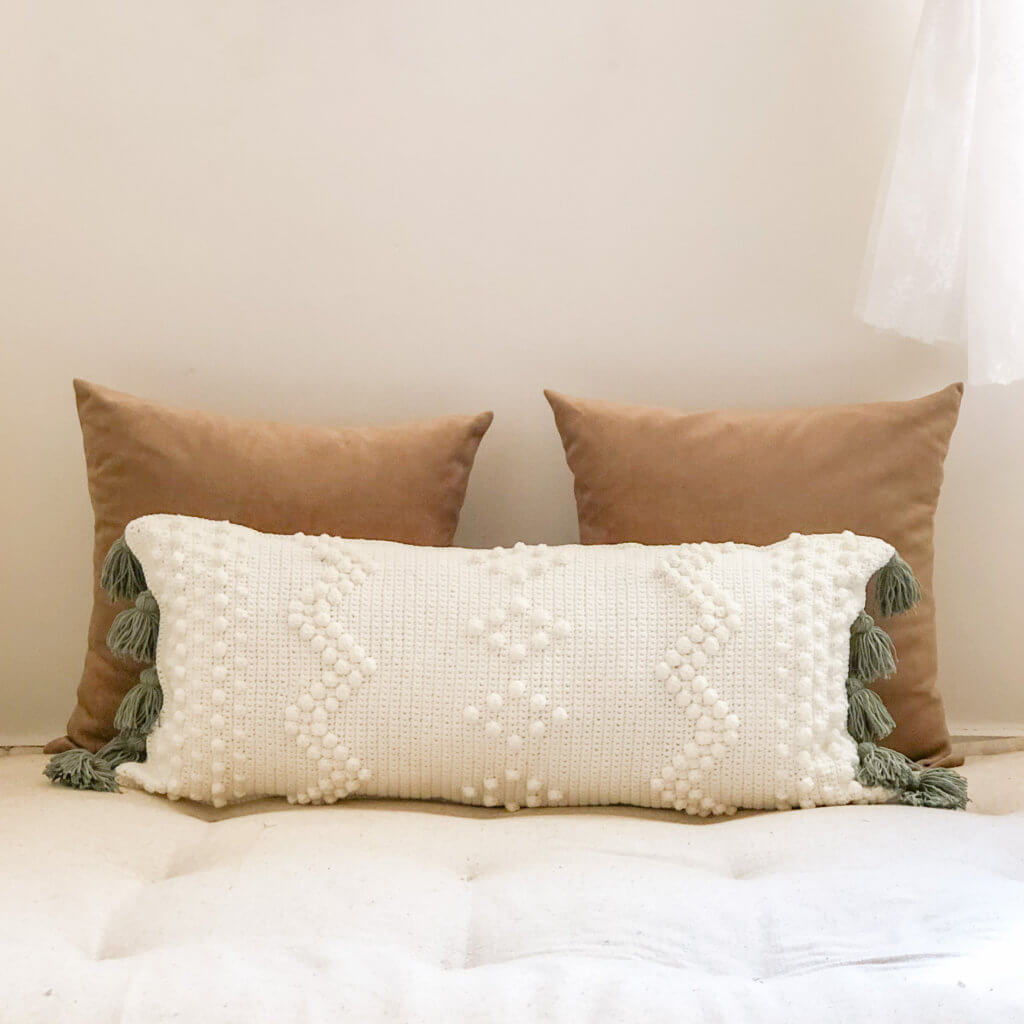
- Anthropologie Inspired long Pillow-Guest Pattern on Bella Coco Crochet Blog!
Crochet Pillow Pattern Instructions:
Front:
Chain 92 with beige yarn
Row 1-10. Sc in each stitch in the row (91 Stitches)
Row 11. (Attach Color b yarn at the beginning of the row and work) HDC-SLST-BLO (half double crochet slip stitch back loop only) in each stitch across the row.
(But don’t forget to work your stitches over color b yarn to be able to change colors for the next row or you can simply cut the yarn after the previous row and reattach after you finish this row)
Row 12. Sc in the back loops only of each stitch in the row (91 Stitches)
Row 13-20. Sc in each stitch in the row (91 Stitches)
Watch this tutorial for the method I used to change colors with the bobble stitches
Row 21. 12 sc, (1 bo, 1 sc) 3 times, 4 sc, 1 bo, 5 sc, 1 bo, 5 sc, 1 bo, 5 sc, (1 bo, 1 sc) 3 times, 4 sc, (1 bo, 1 sc) 3 times, 4 sc 1 bo, 5 sc, 1 bo, 5 sc, 1 bo, 7sc, 1bo, 10 sc.
Row 22. sc (with your base color) in each stitch in the row.
Row 23. 10 sc, 1 bo, 11 sc, 1 bo, 5 sc, 1 bo, 5sc, 1 bo, 5 sc, 1 bo, 9 sc, 1 bo, 9 sc, 1 bo, 5 sc, 1 bo, 5 sc, 1 bo, 7 sc, 1 bo, 10 sc.
Row 24. sc in each stitch in the row.
Row 25. 10 sc, 1 bo, 11 sc, 1 bo, 5 sc, 1 bo, 5sc, 1 bo, 5sc, 1 bo, 9 sc, 1 bo, 9 sc, 1 bo, 5 sc, 1 bo, 7 sc, 1 bo, 3 sc, 1 bo, 10 sc.
Row 26. sc in each stitch in the row.
Row 27. 10 sc, 1 bo, 11 sc, 1 bo, 5 sc, 1 bo, 5sc, 1 bo, 5 sc, 1 bo, 9 sc, 1 bo, 9 sc, 1 bo, 5 sc, 1 bo, 9 sc, 1 bo, 14 sc.
Row 28. sc in each stitch in the row.
Row 29. 10 sc, 1 bo, 11 sc, (1 bo, 1 sc) 4 times, 4 sc, 1 bo, 5 sc, 1 bo, 9 sc, 1 bo, 9 sc, (1 bo, 1sc) 4 times, 8 sc, 1 bo, 14 sc.
Row 30. sc in each stitch in the row.
Row 31. 10 sc, 1 bo, 11 sc, 1 bo, 5 sc, 1 bo, 5sc, 1 bo, 5 sc, 1 bo, 9 sc, 1 bo, 9 sc, 1 bo, 5 sc, 1 bo, 7 sc, 1 bo, 3 sc, 1 bo, 10 sc.
Row 32. sc in each stitch in the row.
Row 33. 10 sc, 1 bo, 11 sc, 1 bo, 5 sc, 1 bo, 5sc, 1 bo, 5 sc, 1 bo, 9 sc, 1 bo, 10 sc, 1 bo, 3 sc, 1 bo, 6 sc, 1 bo, 7 sc, 1 bo, 10 sc.
Row 34. sc in each stitch in the row.
Row 35. 12 sc, (1 bo, 1 sc) 3 times, 4 sc, 1 bo, 5 sc, 1 bo, 5 sc, 1 bo, 5 sc, 1 bo, 9 sc, 1 bo, 12 sc, 1 bo, 8 sc, 1 bo, 7 sc, 1 bo, 10 sc.
Row 36-44. Sc in each stitch in the row (91 Stitches)
Row 45. (Attach Color b yarn at the beginning of the round and work) HDC-SLST-BLO (half double crochet slip stitch back loop only) in each stitch across the row.
Row 46. Sc in the back loops only of each stitch in the row (91 Stitches)
Row 47-55. Sc in each stitch in the row (91 Stitches)
Now work one last row of sc along the short edges of your front (work one sc in each row).
Back:
I used double strands to do the back. However, if you want to use one strand use a 3.5 mm and chain 56. Also instead of working 40 rows for the first piece work 48 and 46 for the second piece, Instead of 38.
Using double strands of color a and a 4 mm hook, chain 40
Sc in 2nd chain from the hook and across, Ch 1, turn (39)
Row 2-38. Sc across, Ch 1, turn (39)
Row 39. Slip stitch in the first two stitched, sc in the first 8 stitches, chain 1 skip one stitch, sc in the next 8, chain 1 skip one stitch, sc in the next 8, chain 1 skip one stitch, sc in the next 8, skip the last two stitches chain 1 and turn
Row 40. Sc in each stitch and chain space in the row
Again using double strands of color a chain 40
Sc in 2nd chain from the hook and across, Ch 1, turn (39)
Row 2-38. Sc across, Ch 1, turn (39)
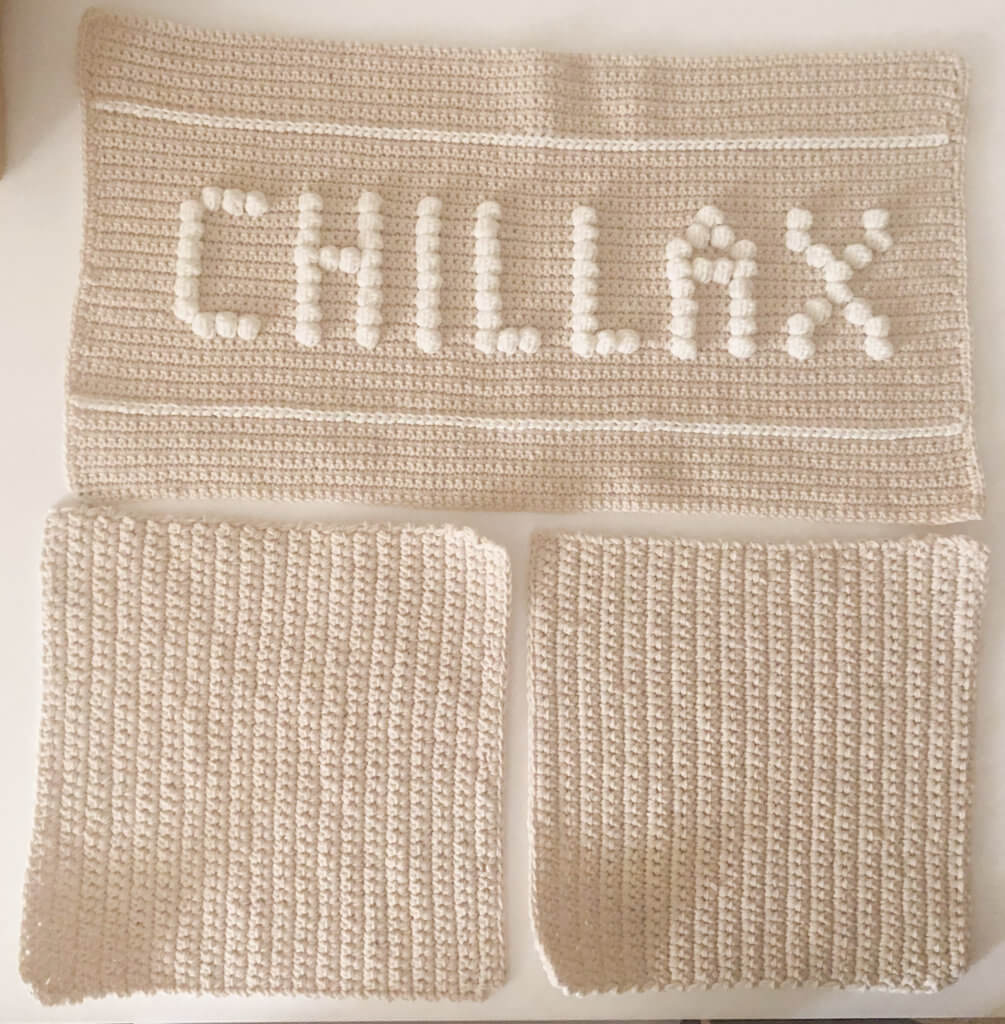
You will have three pieces
Finishing:
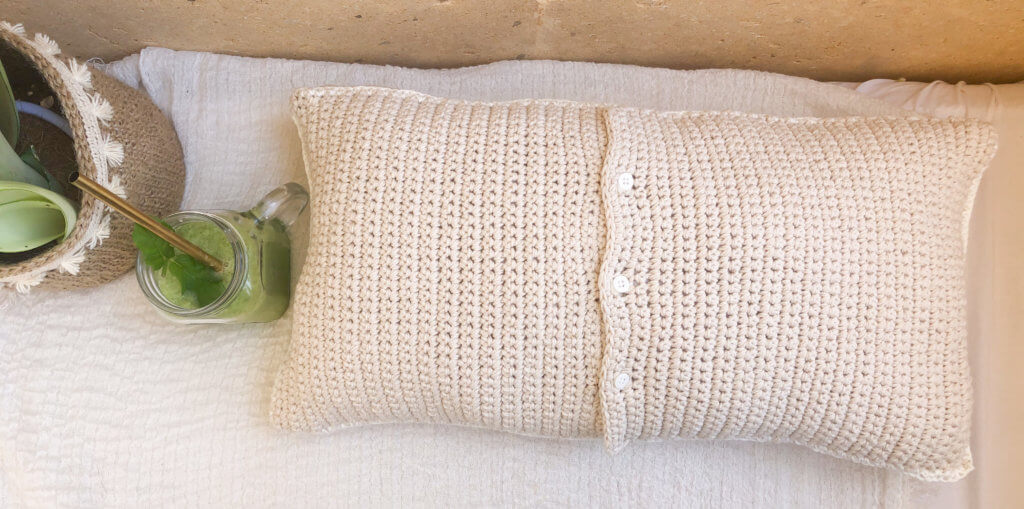
Now is the time to sew your buttons in front of the button holes on the other piece!
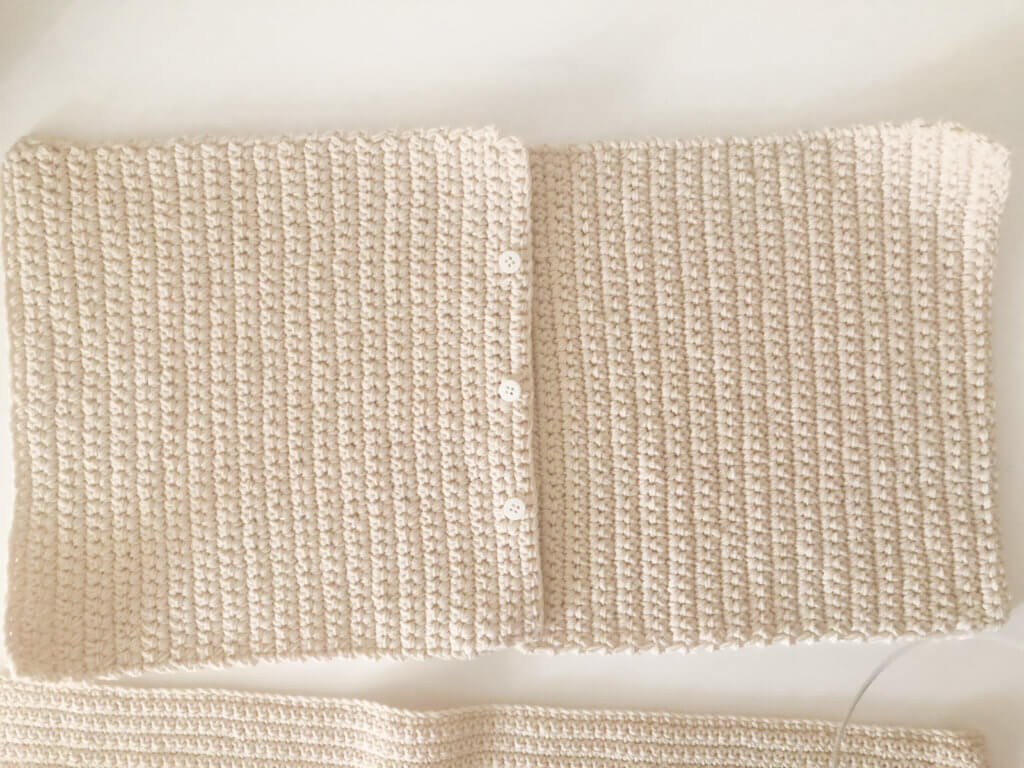
Seaming: Finally, holding two panels together with right sides facing out, Single crochet the two pieces together. (as you see in this video).
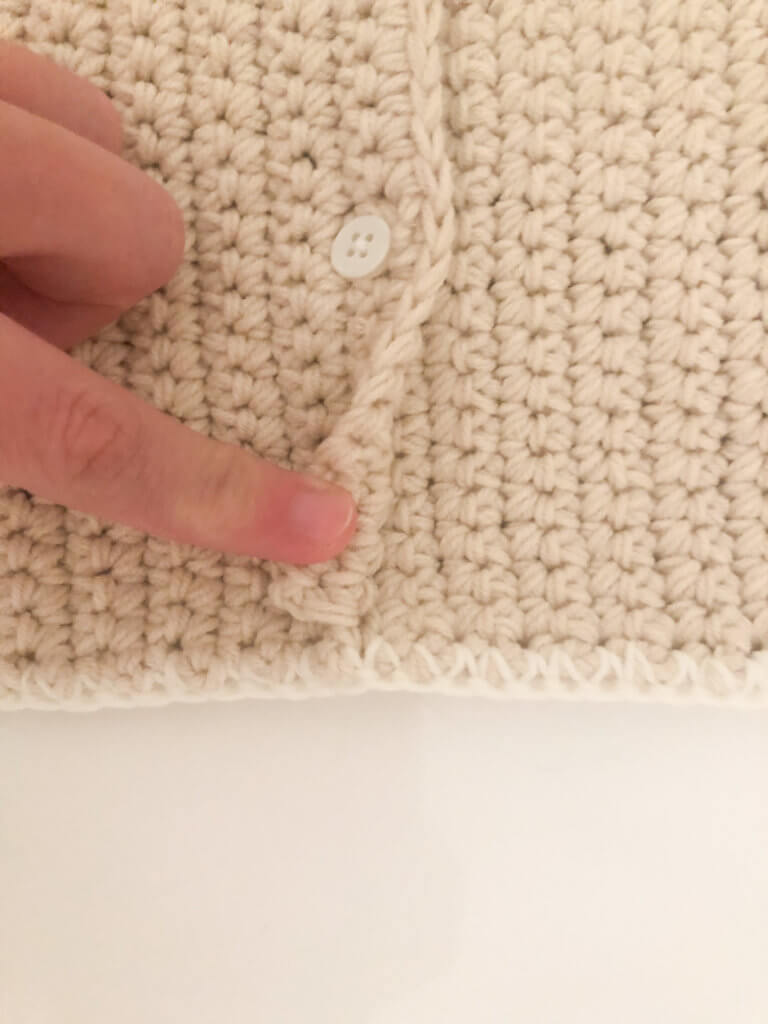
Make sure to leave the two extra rows we worked on the first piece (check the picture bellow) while crocheting the front and back together. So I recommend that you sew the buttons and button your piece up before seaming!
I hope you liked this crochet pillow pattern. If you made one, share it with me on Instagram. I would love to see how you adapted it and what variations you made 🙂
Take care and happy crocheting.
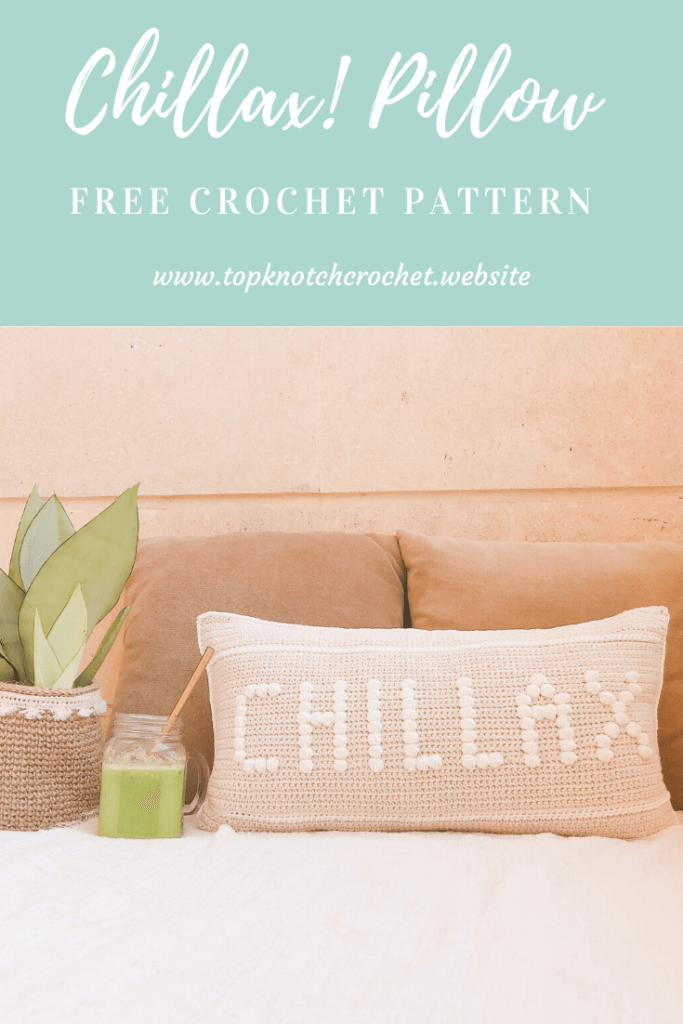
Pin it for later!
And If You Want some more Home Decor Patterns. Check my Room Makeover Series!
- Boho Crochet Wall Hanging-
- Yarn Stash Buster – Crochet Wall Hanging
- “Enjoy little things” wall hanging
- Wall pocket / wall organizer
- Bobble-licious Crochet Pillow Case Free Pattern
- Crochet boho Baskets
- Cozy crochet cushion
- DIY Vision board
- Wall pocket / wall organizer
- DREAM dream catcher
- Boho ceiling lmapshade
- Bedside Table Lampshade Free Pattern & Photo Tutorial
- Round Velvet Crochet Pillow Case
- Crochet Plant Pot Cover / Decorative Basket
- Rise and shine wall hanging
- DIY Waste Basket / Trash Can – Photo Tutorial
- Sunshine Crochet Pillow Case – Free Pattern.

